
Night & Day
Description:
Switching between night and day lighting scenarios in Spectrum Galaxy Example Map. Adding new content to either or both lighting scenarios.
Switching in Editor:
Spectrum Galaxy is using Lighting Scenarios for its daytime or nighttime lighting. You’ll also notice the “Persistent Level” being visible, this is always loaded in game. So assets that are assigned to the persistent level will be visible on both nighttime and daytime scenarios while playing.
In order to toggle these in the editor:
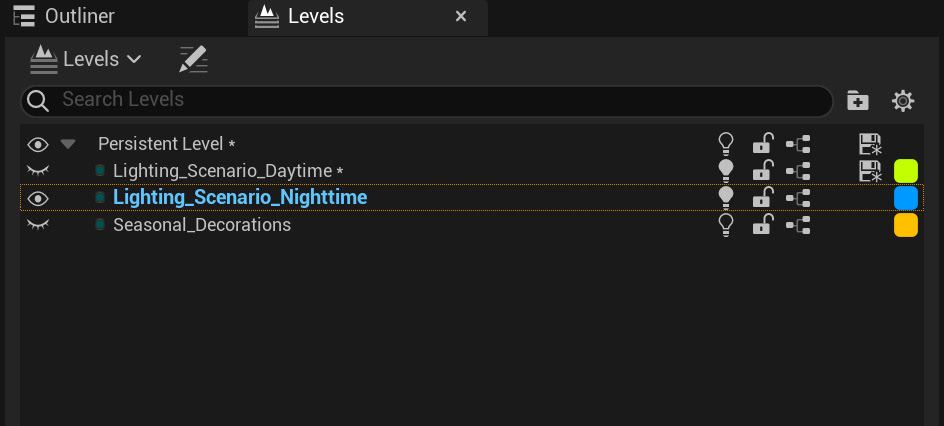
1. Ensure the levels tab is visible (“windows” menu, then select “levels”)
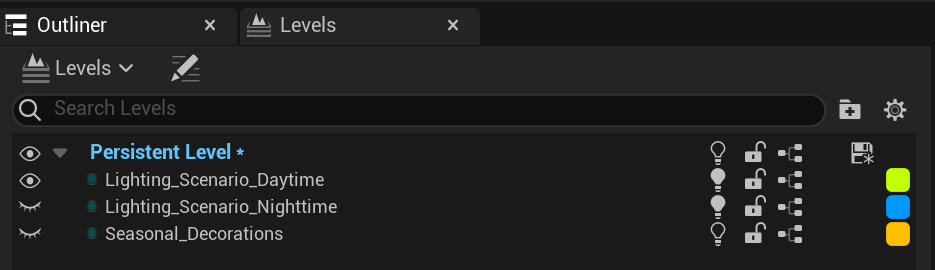
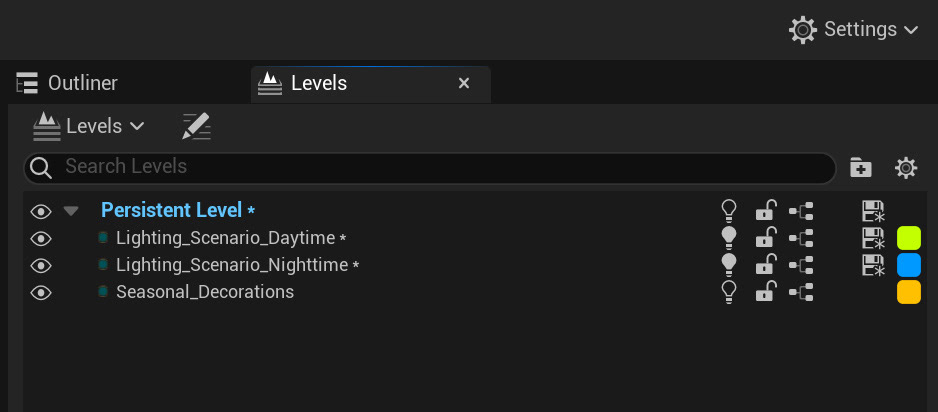
2. If you desire to view daytime lighting, in the “levels” tab, please toggle on “persistent level” and “Lighting_Scenario_Daytime” levels (see image below).

Important note: Alternatively the nighttime lighting would require you to have the "persistent level" and "Lighting_Scenario_Nighttime" levels toggled on (visible).
Switching in Game:
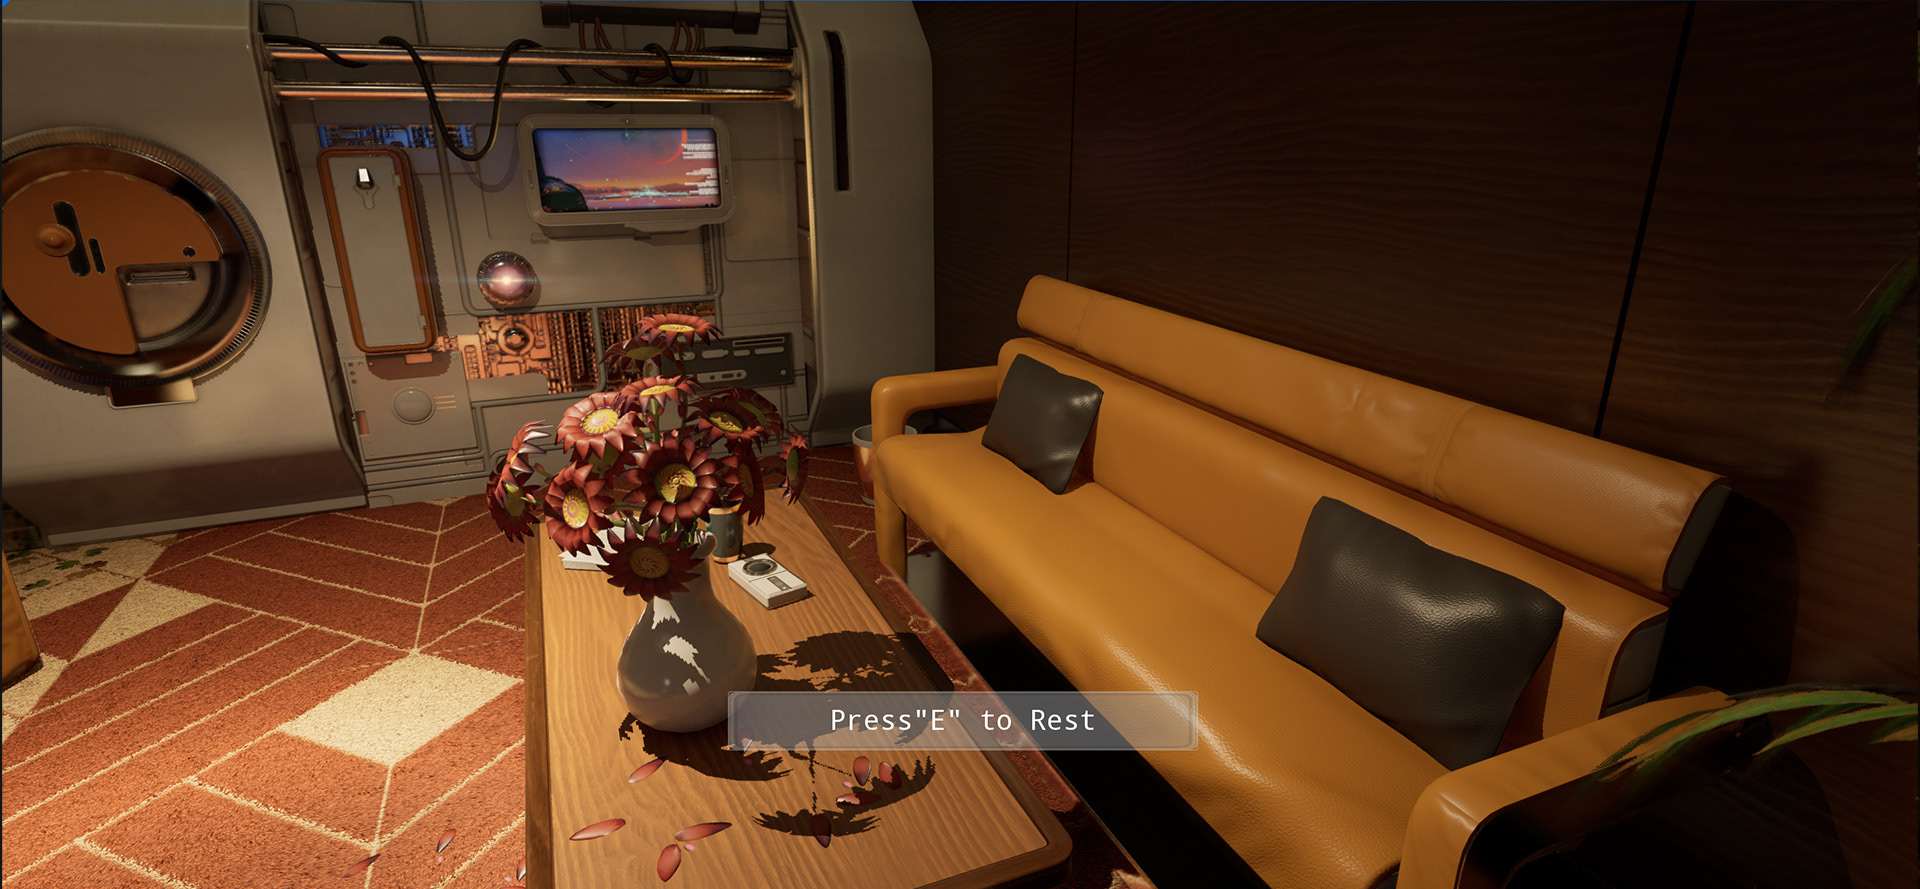
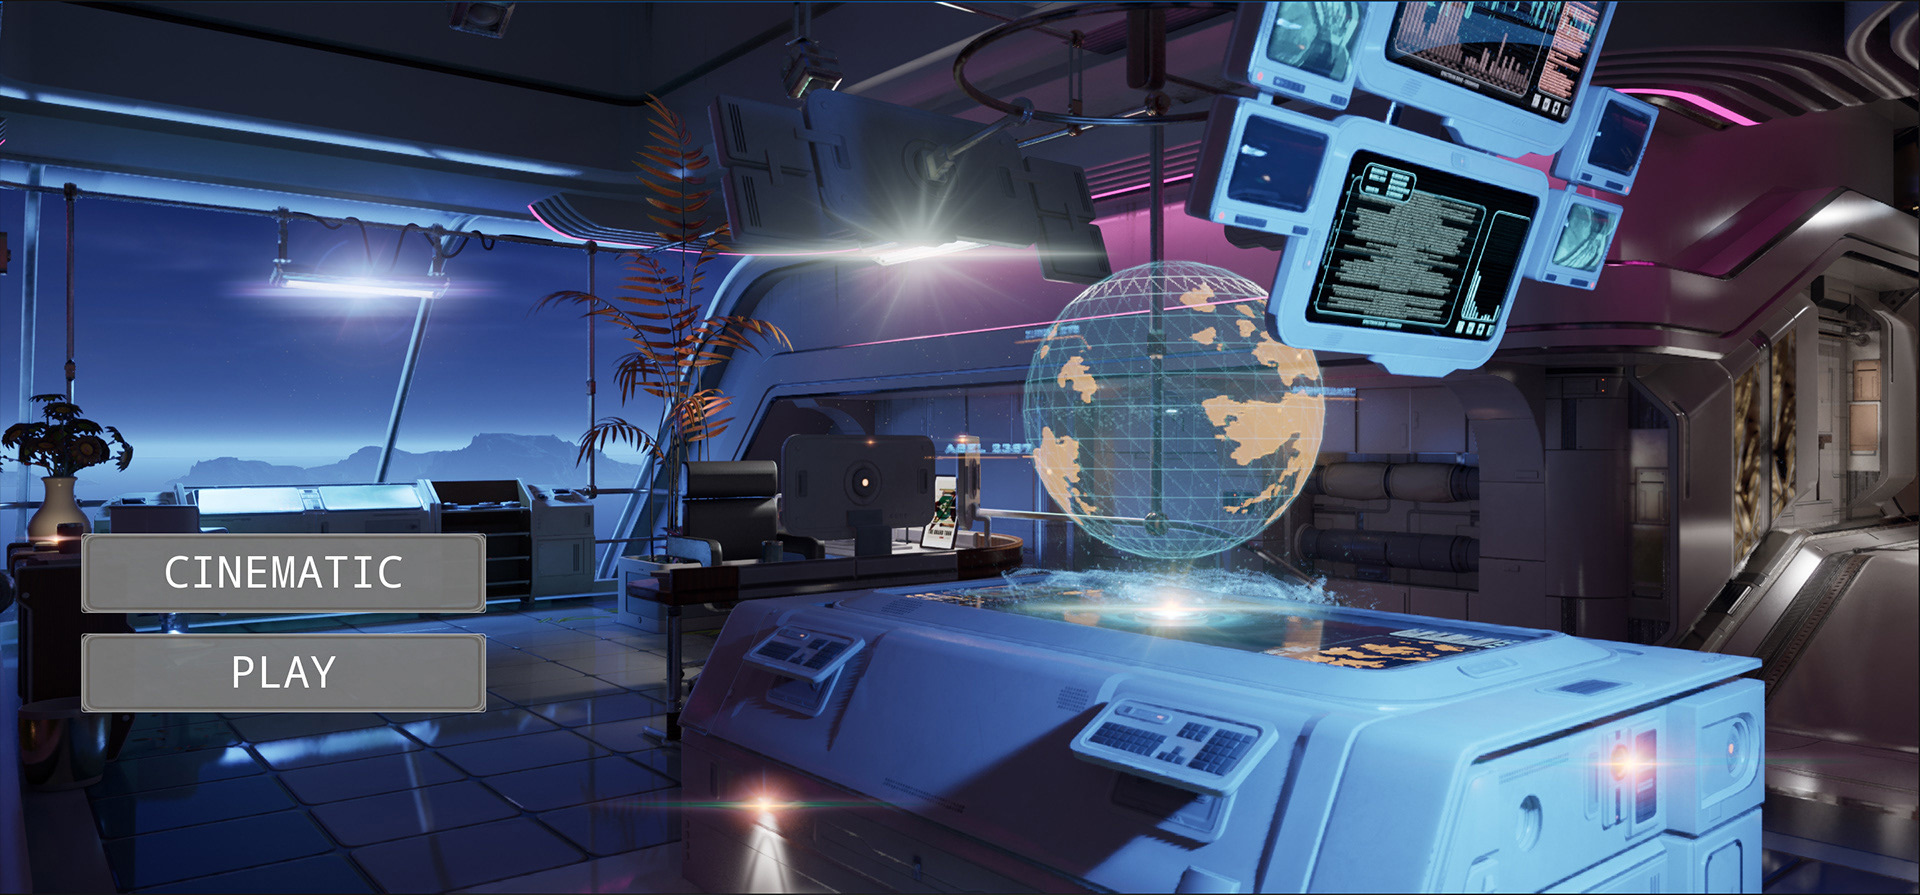
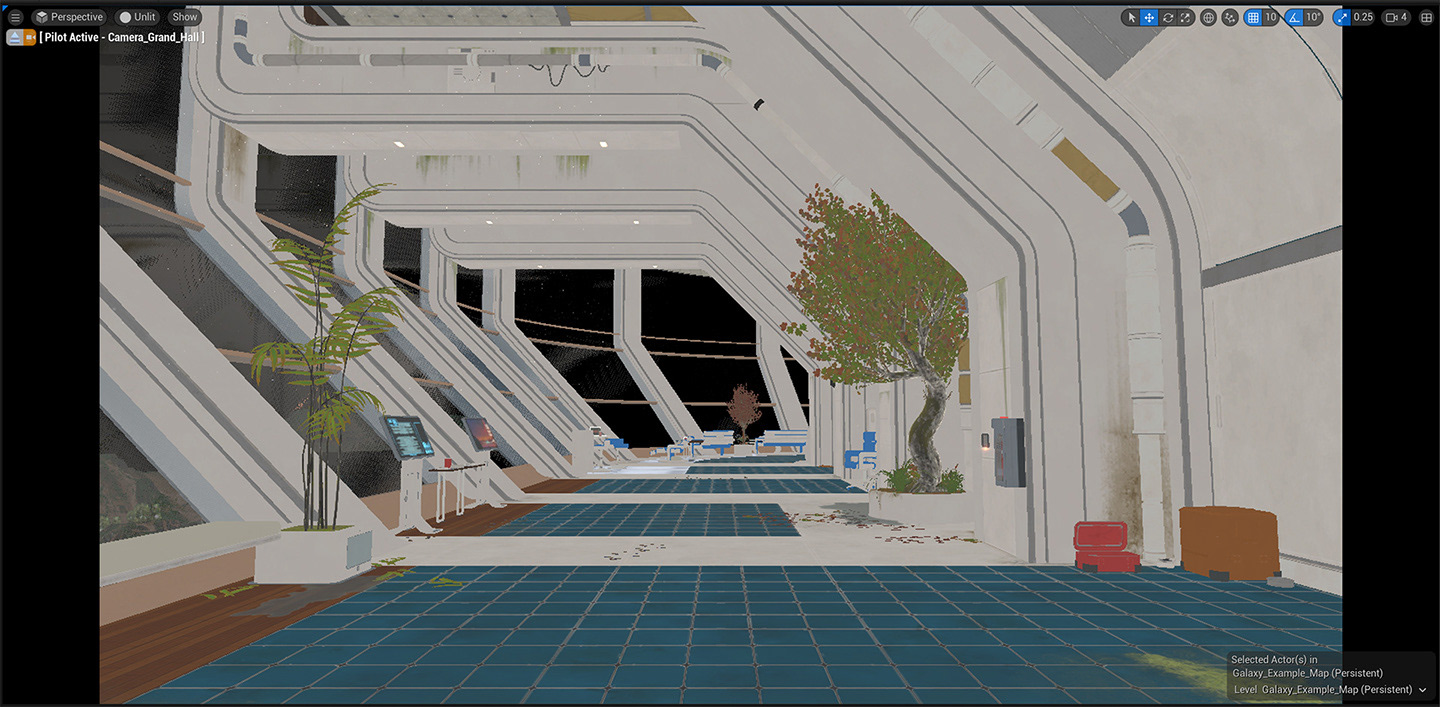
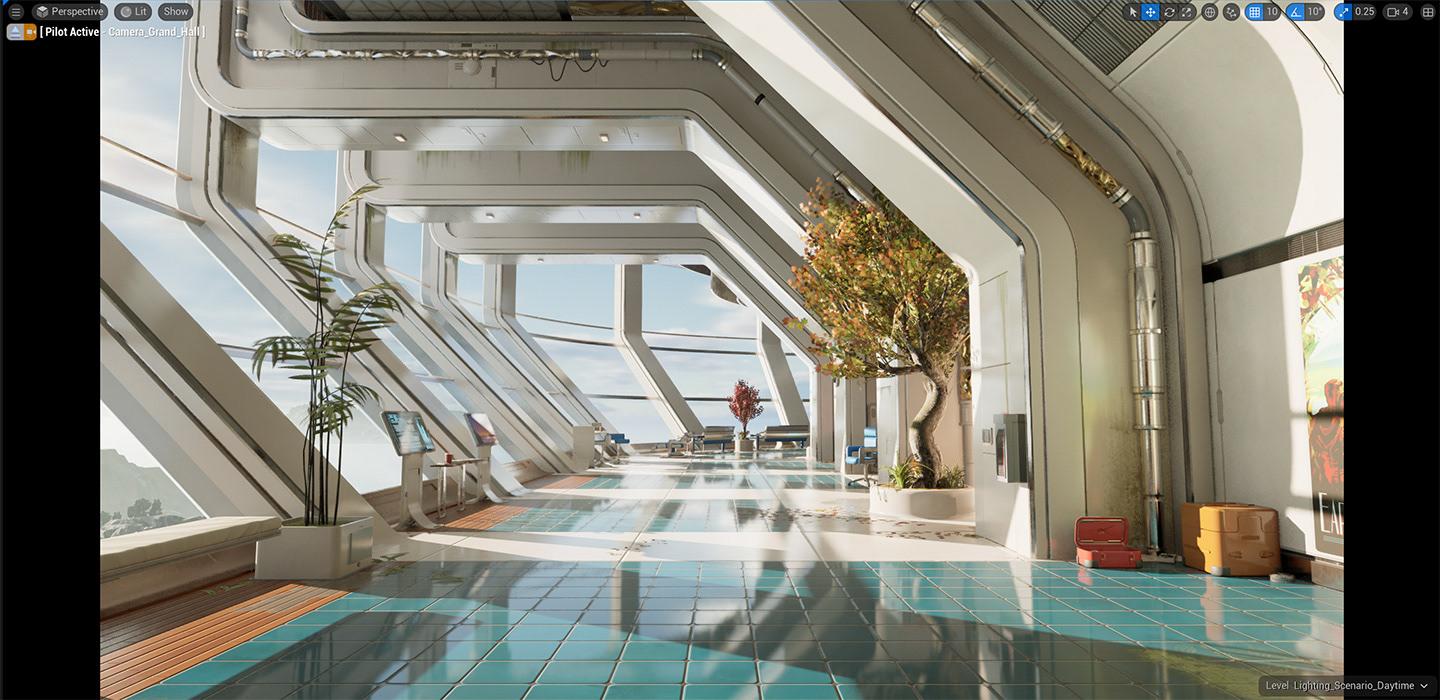
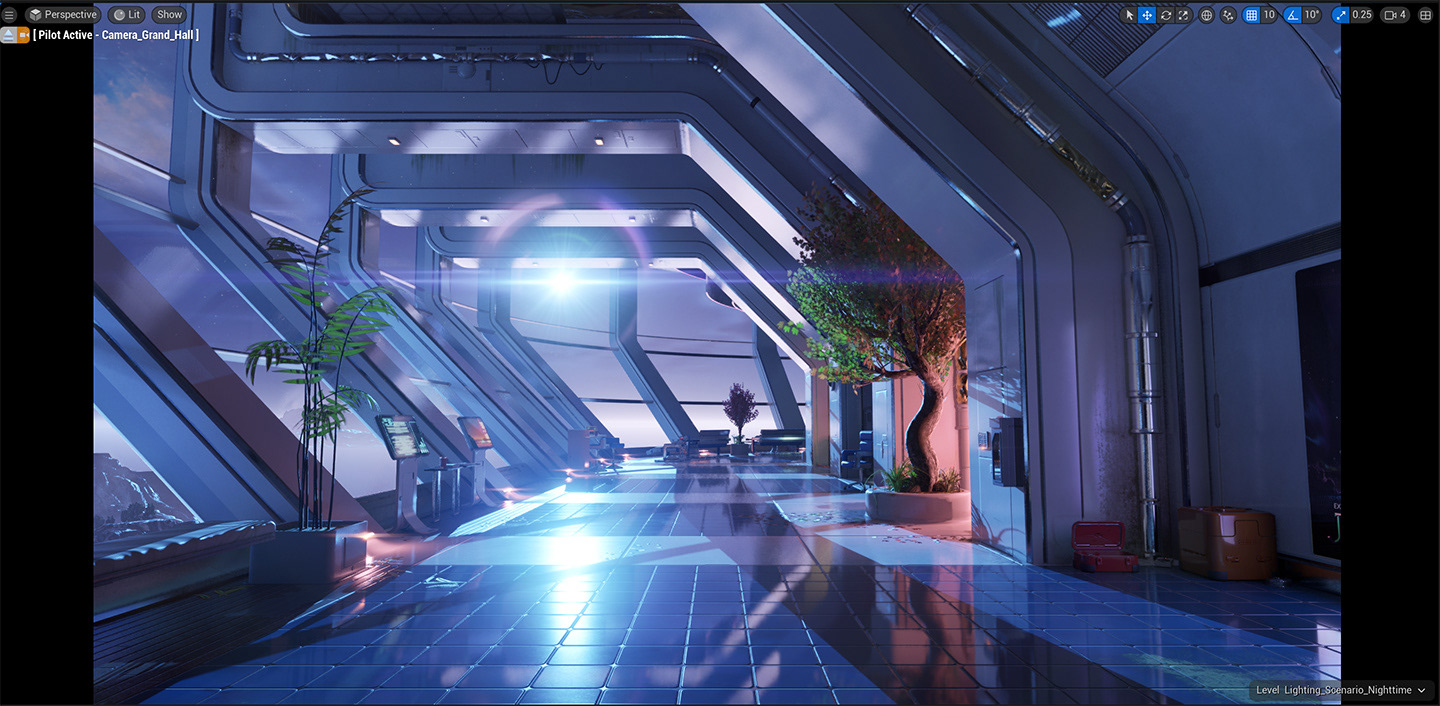
While playing the game, the example map allows you to switch between daytime and nighttime lighting by going to the “lounge” room seen below:
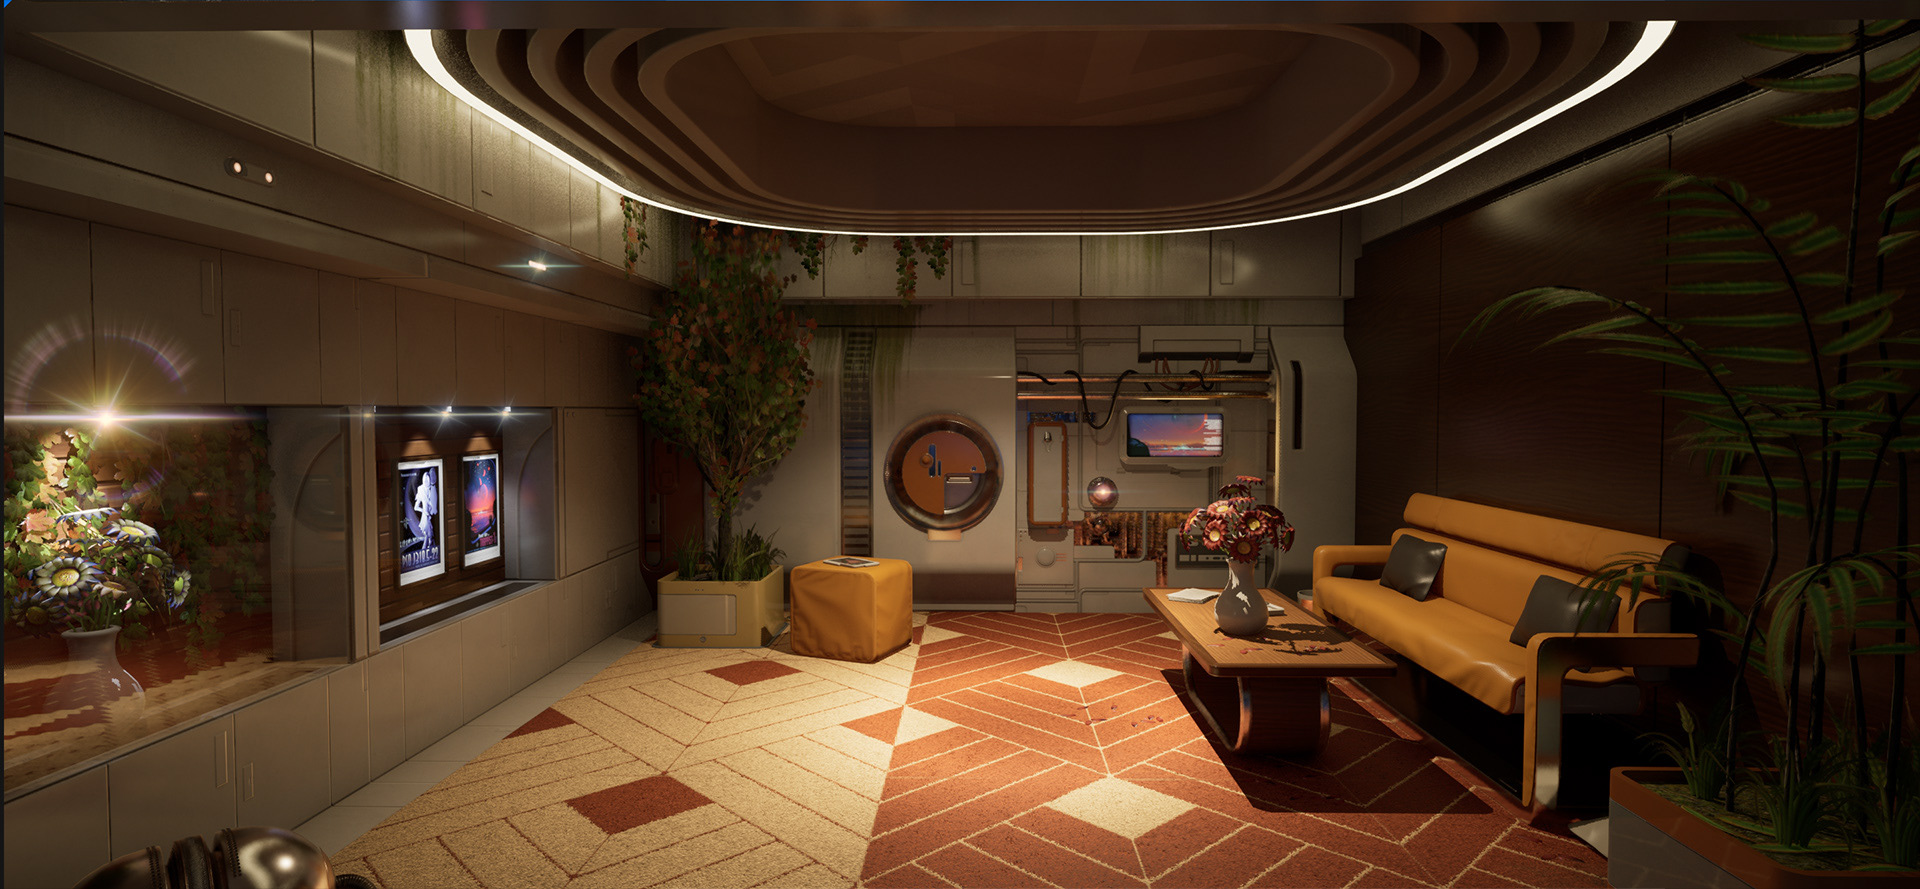
Then please approach the sofa on the right and press "E" on the keyboard to rest. After a short cinematic, the game will switch from the currently active lighting scenario to the other. (Day to Night or Night to Day).
Changing Default In-Game Lighting via Blueprints:
The Spectrum Galaxy example map loads the daytime lighting scenario by default when you play the game.
You can find the setup by opening the "level blueprint" and then finding the section titled "main menu". You'll notice that the right-most node in that section is called "Load Stream Level (by Name)". The level name on that node is the exact name of the daytime lighting scenario (Lighting_Scenario_Daytime).
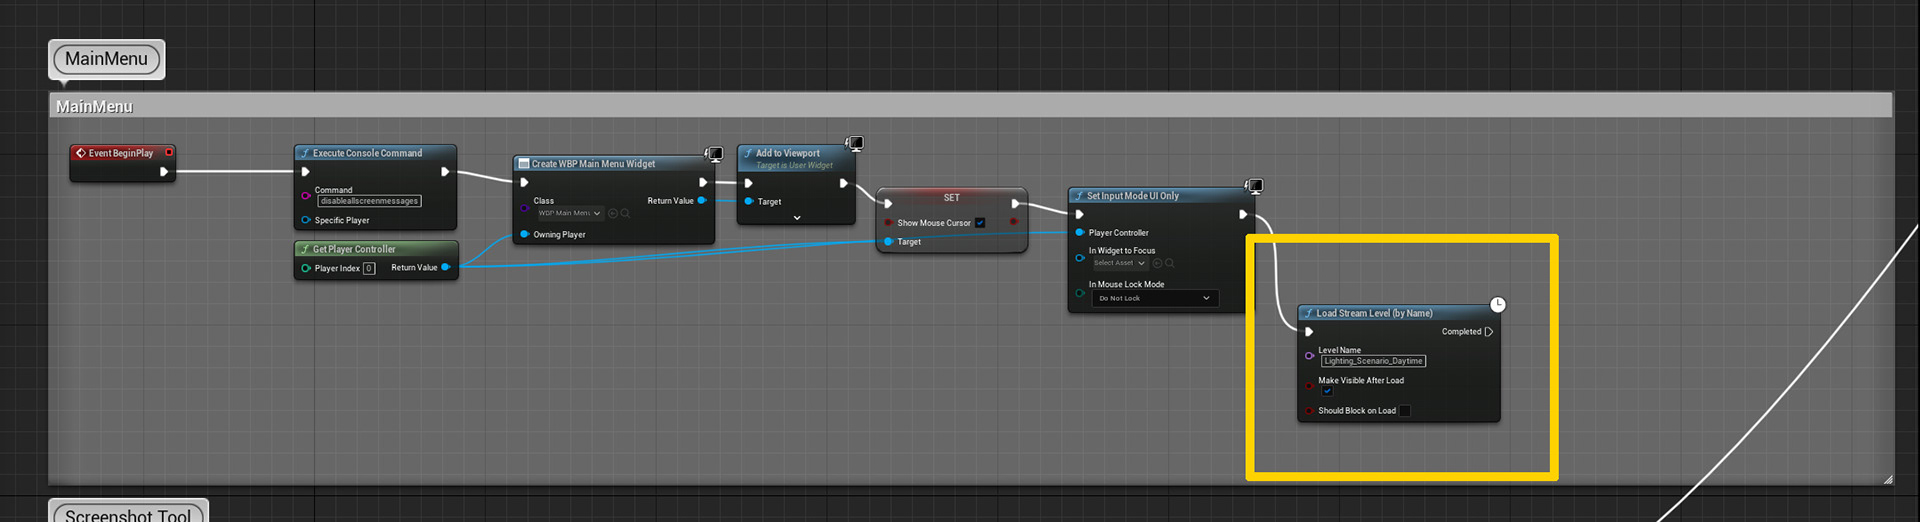
The node highlighted above in yellow corresponds to the daytime lighting scenario.
Changing the default lighting to nighttime.
In order to change the default setup shown above to nighttime, please follow these 3 simple steps:
1. In the "main menu" section of the "level blueprint". Please disconnect the "Load Stream Level (by Name)" node from the "Set Input Mode UI Only" node.
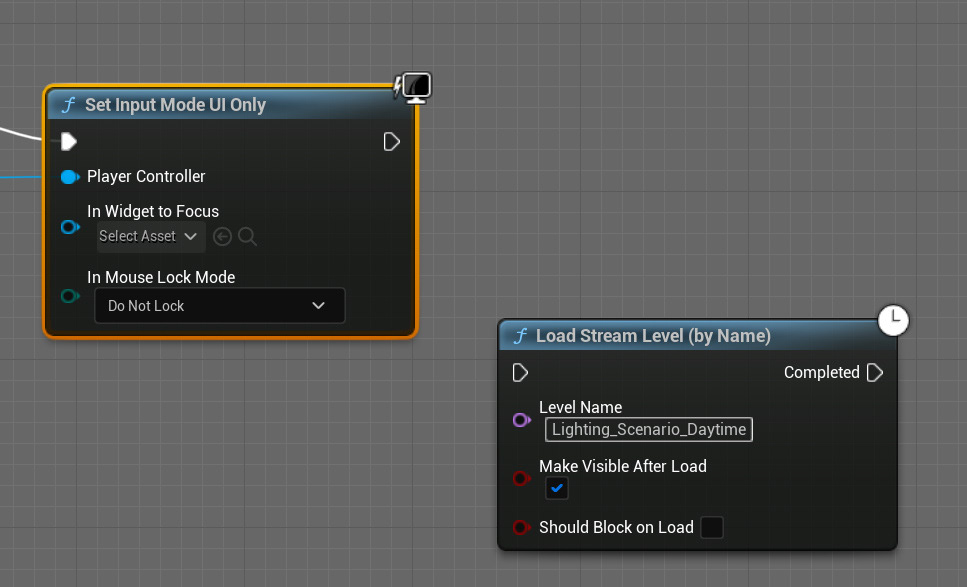
2. Then you'll need to connect the same "Set Input Mode UI Only" node to the "Unload Stream Level (by Name)" node in the "Activate Nighttime" section.
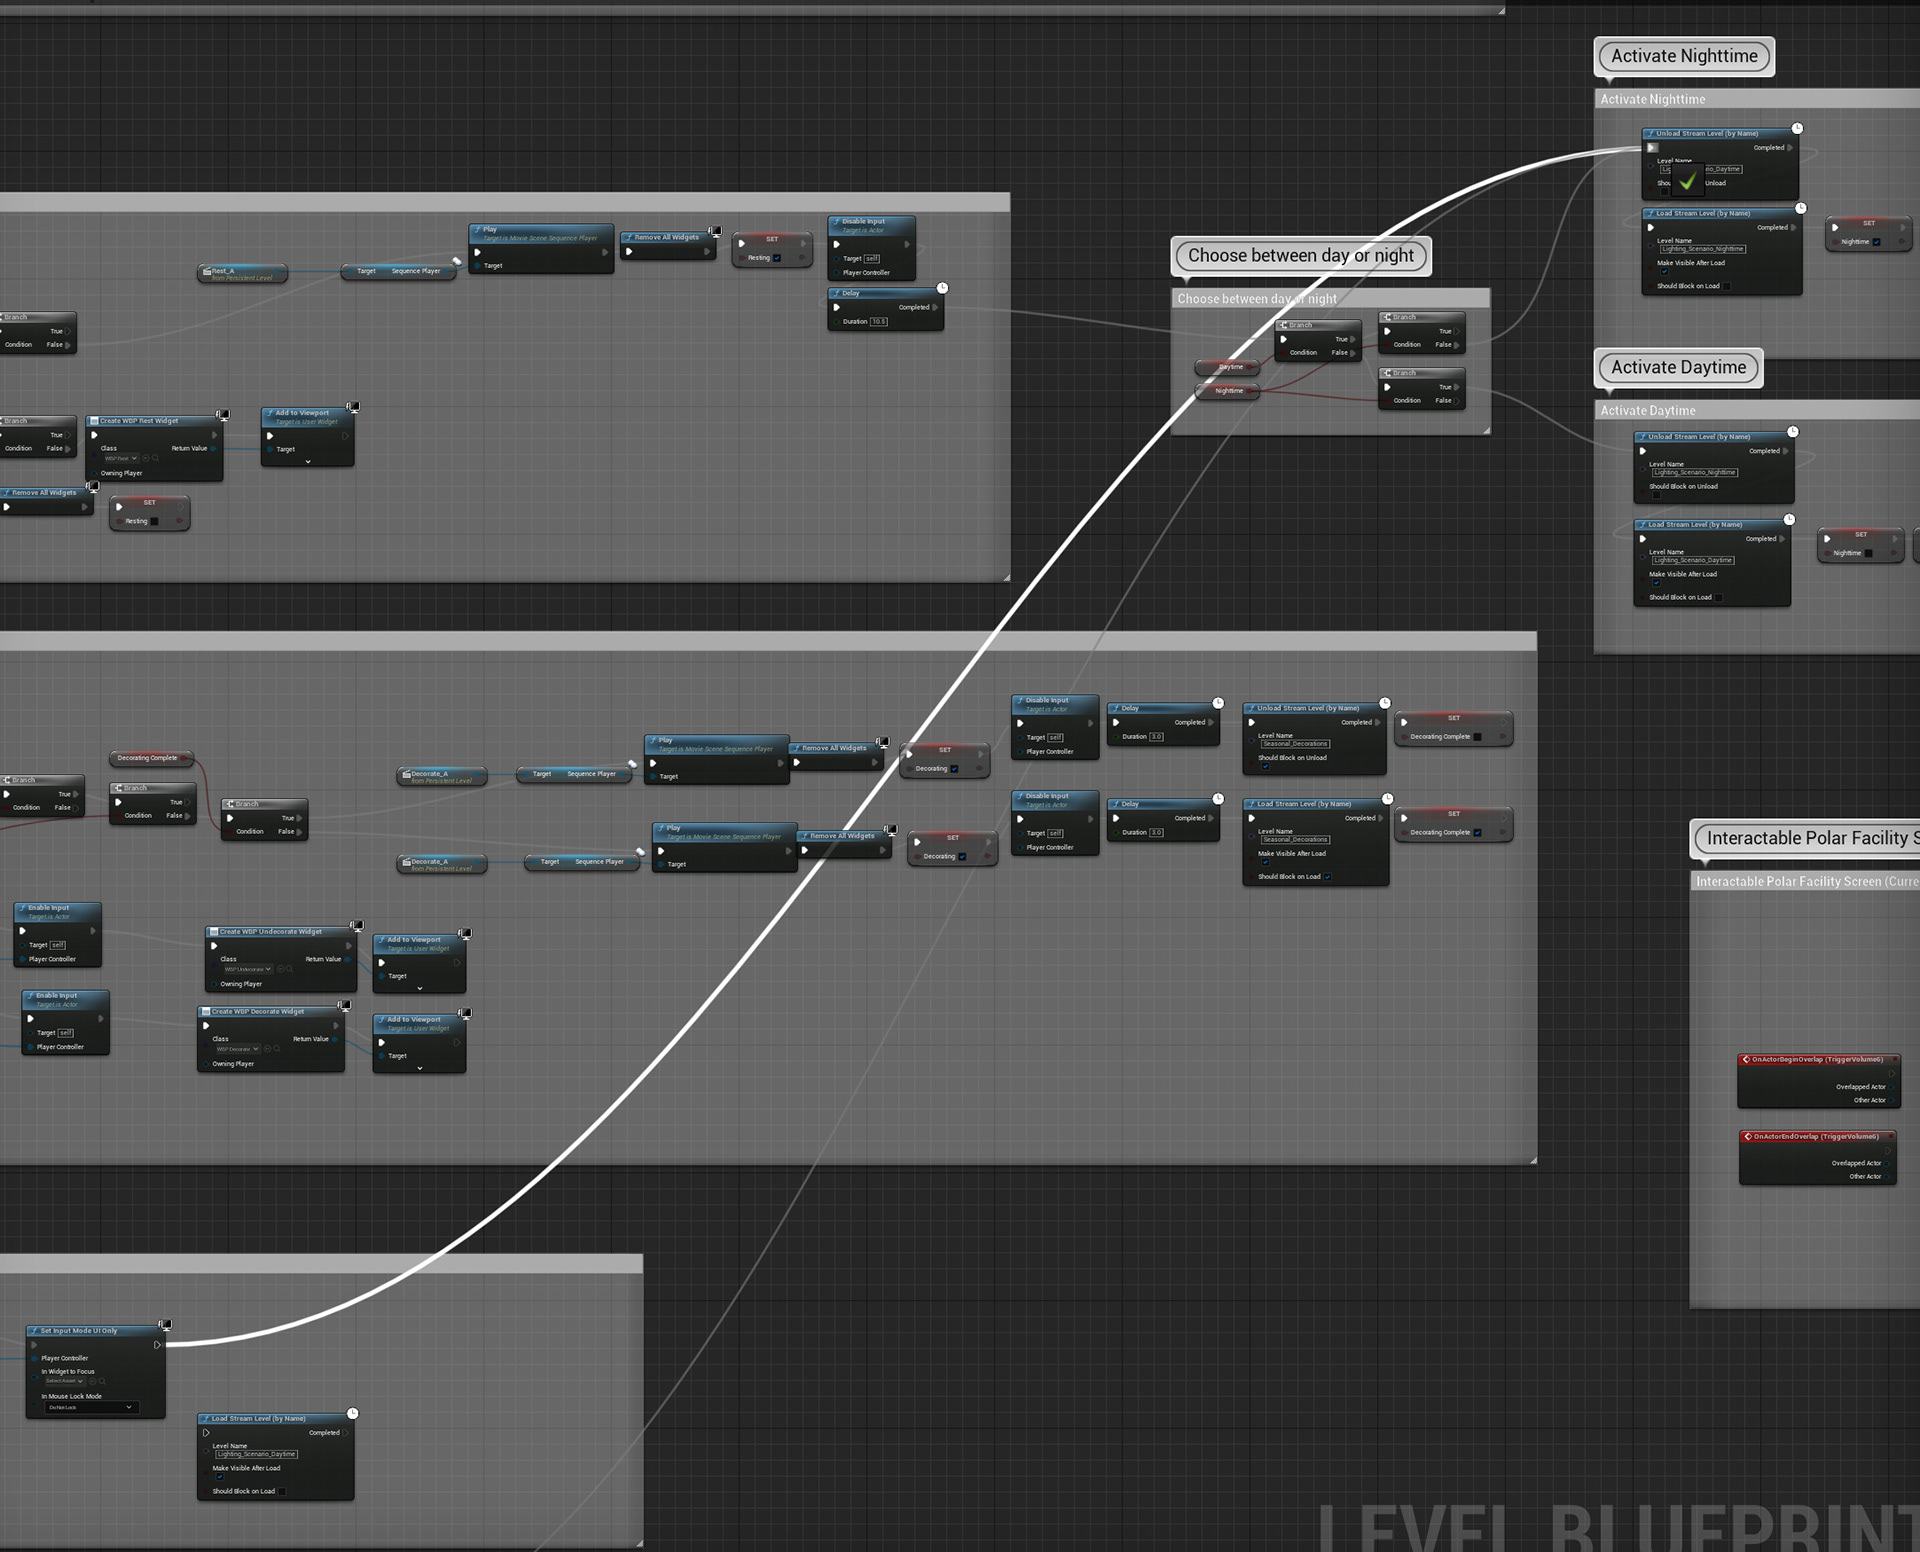
Expanded view above and close-up view below
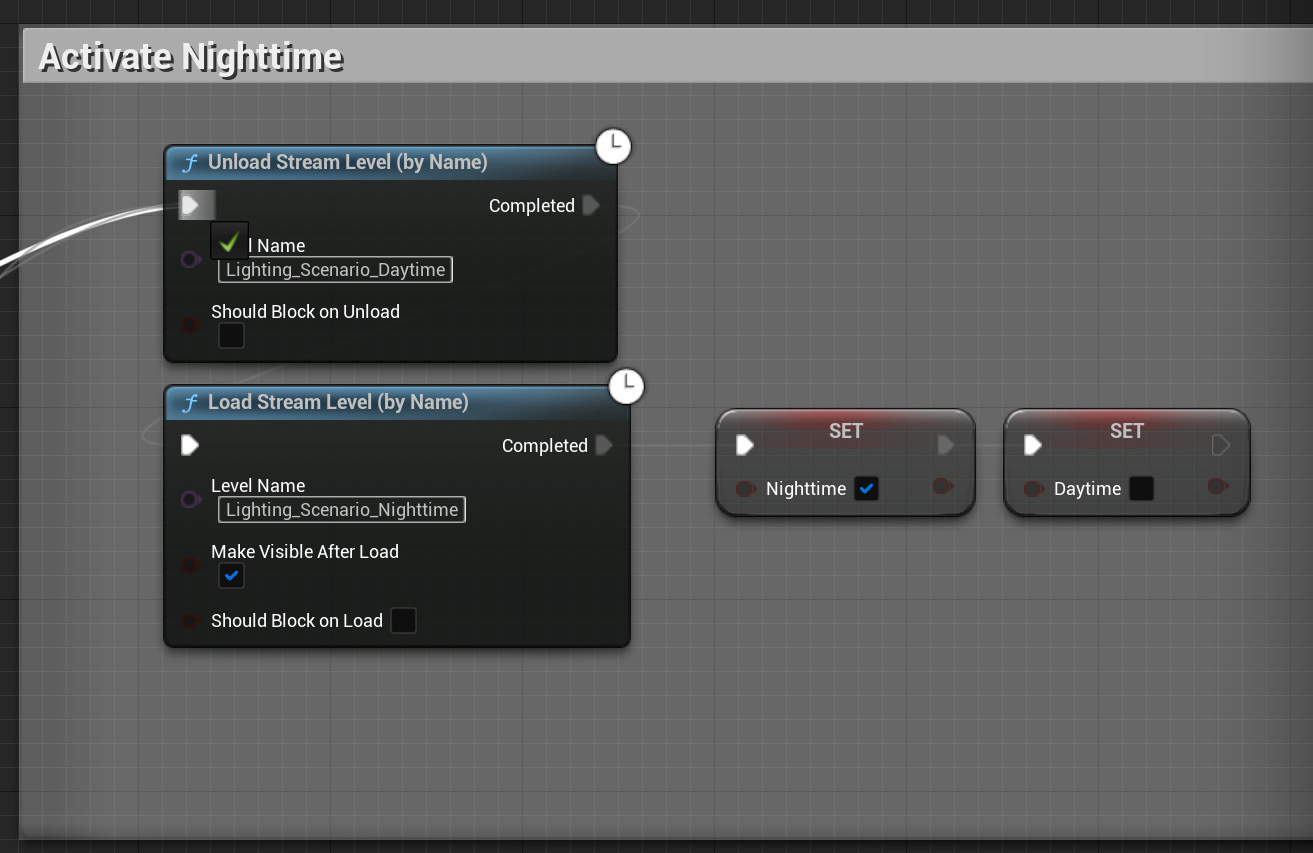
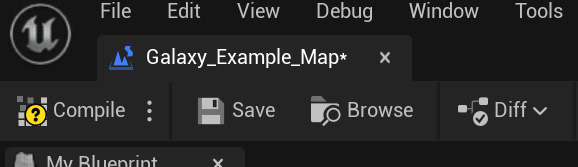
3. Finally, please compile and save the level blueprint.
Now the nighttime lighting scenario loads by default when you play the game! While playing the game, the lighting updates in the same manner by resting on the lounge sofa.
As an additional note: If you set the default lighting scenario to nighttime via blueprints (as shown above). The introductory scene of the cinematic will not look correct. That is because that scene requires the daytime scenario to be loaded at the start of the cinematic, but once this scene is over, the rest of the cinematic works as intended.
Adding New Content:
When adding new content to the Spectrum Galaxy example map, you’ll need to ask yourself these questions.
Do I want this to be always loaded, in both day and night? Do I want this to be loaded only during the day? Or only at night?
The answer to the above questions will determine where your new assets are placed. By default, when you work on the example map, new assets are placed on the “persistent level”.
Adding new assets that are always loaded:
The persistent level is your “permanent” level. Switching between daytime or nighttime lighting will not cause the assets on this level to be unloaded. The persistent level is ideal for assets like:
• Architecture.
• Foliage
• Landscape assets
• Consoles and furniture
• Permanent light fixtures
You can see which level is currently active by noting the bold light blue color on the persistent level.
To introduce new assets that need to be always loaded, you simply need to:
1. create, duplicate, or place new assets in the editor while the persistent level is active. This will be the default setting.
Screenshot with the persistent level loaded in "unlit" mode.
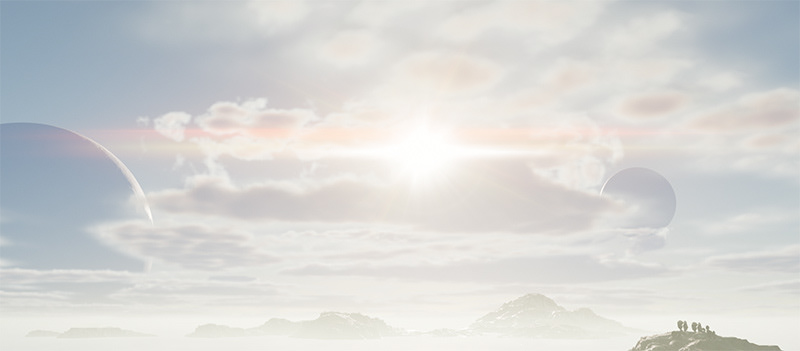
Adding new assets that are only visible during the day:
The "lighting_scenario_daytime" level is a temporary level. The assets that are assigned to this level will only be visible during the day.
Switching to the nighttime lighting will cause the assets on this level to be unloaded. The daytime lighting level is ideal for items like:
• Sun light
• Sun lens flare
• Dense clouds.
• Lights that are hidden/off during the night
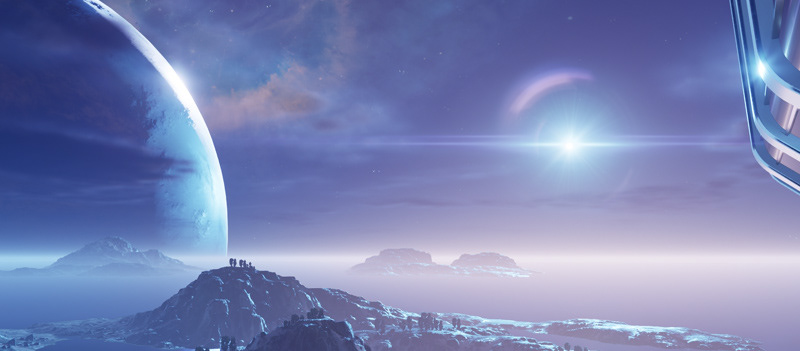
• Unique background composition
To introduce new assets that need to only loaded during the day, you simply need to:
1. Activate the "lighting_scenario_daytime" level by double clicking on it in the levels tab. You'll know it's active when it turns light blue.
2. Create, duplicate, or place new items in the editor while the "lighting_scenario_daytime" level is active.
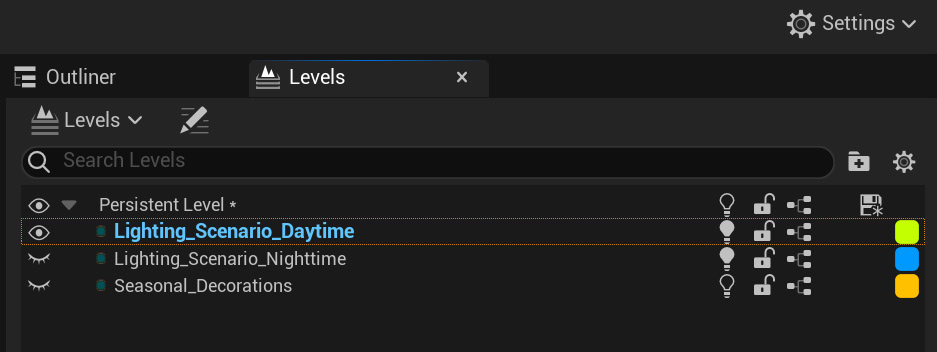
Screenshot with the daytime and persistent level loaded.
Adding new assets that are only visible at night:
The "lighting_scenario_nighttime" level is a temporary level. The assets that are assigned to this level will only be visible at night.
Switching to the daytime lighting will cause the assets on this level to be unloaded. The nighttime lighting level is ideal for items like:
• Moonlight
• Stars
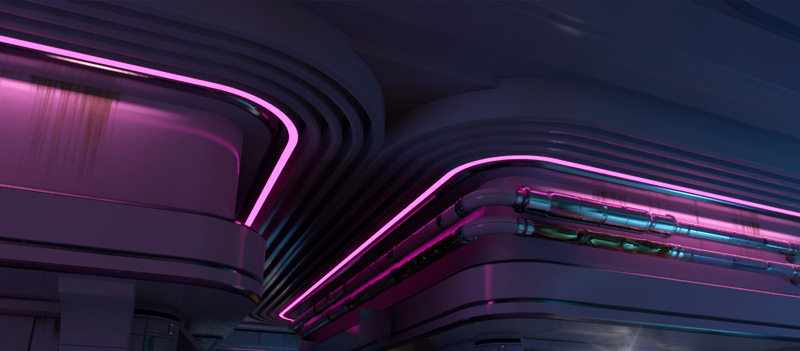
• Led strip lights
• Neon signs or other unique decorative elements
• Temporary light fixtures that are not needed during the day
To introduce new assets that need to only loaded at night, you simply need to:
1. Activate the "lighting_scenario_nighttime" level by double clicking on it in the levels tab. You'll know it's active when it turns light blue.
2. Create, duplicate, or place new items in the editor while the "lighting_scenario_nighttime" level is active.
Screenshot with the nighttime and persistent level loaded.
Moving content between levels:
What happens if you placed an asset on the persistent level but now desire for it to be only visible during the day? or night?
Switching assets from one level to another is a simple process.
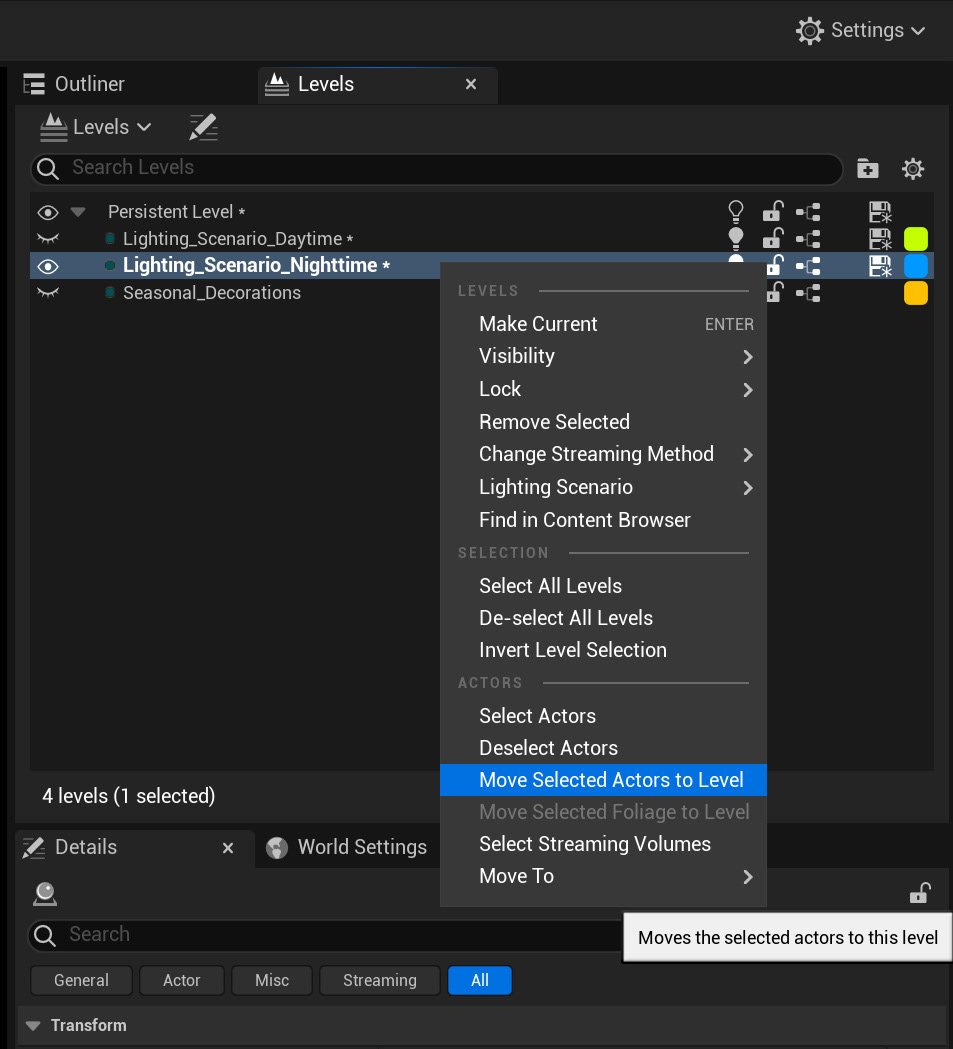
1. Activate the desired level (persistent level, lighting_scenario_nighttime, or lighting_scenario_daytime). Do so by double clicking on the desired level. You'll know it's active when it turns light blue.
2. Select the asset or assets that you desire to move. For this example, I selected a small light fixture and lens flare that is in the persistent level, my goal is to move this to lighting_scenario_nighttime.
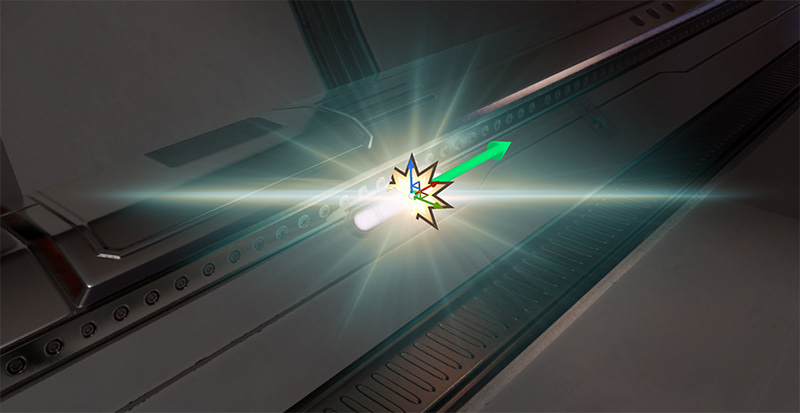
3. With the objects selected, navigate to the levels tab, right click on the active level and choose "Move Selected Actors to Level".
As a result of the above example, that light fixture and lens flare will only be visible when the nighttime lighting is loaded in game.
Building Lighting - UE4 Only:
These levels are called “lighting scenarios”. They function as regular levels but with added functionality. This added functionality relates to built lighting. Spectrum Galaxy for UE4 uses built lighting, while the UE5 version uses real time lighting.
When building lighting, UE will save the lighting data for each lighting scenario separately. Thus, building the lighting twice in our case, once for the daytime scenario and another for the nighttime scenario.
Additional note: If these two levels (nighttime and daytime) were not lighting scenarios, then the engine would not build lighting for them separately. You would only build for the persistent level while using levels that are visible on the levels tab.
So to re-build the lighting on the example map in UE4:
1. Choose your desired light quality by navigating to build->lighting quality and choosing preview, medium, high, or production.
2. Make sure all levels are visible and choose build->build all levels.
Thank you for reading this.