

Article written by Julio Juarez | 3DBrushwork.com

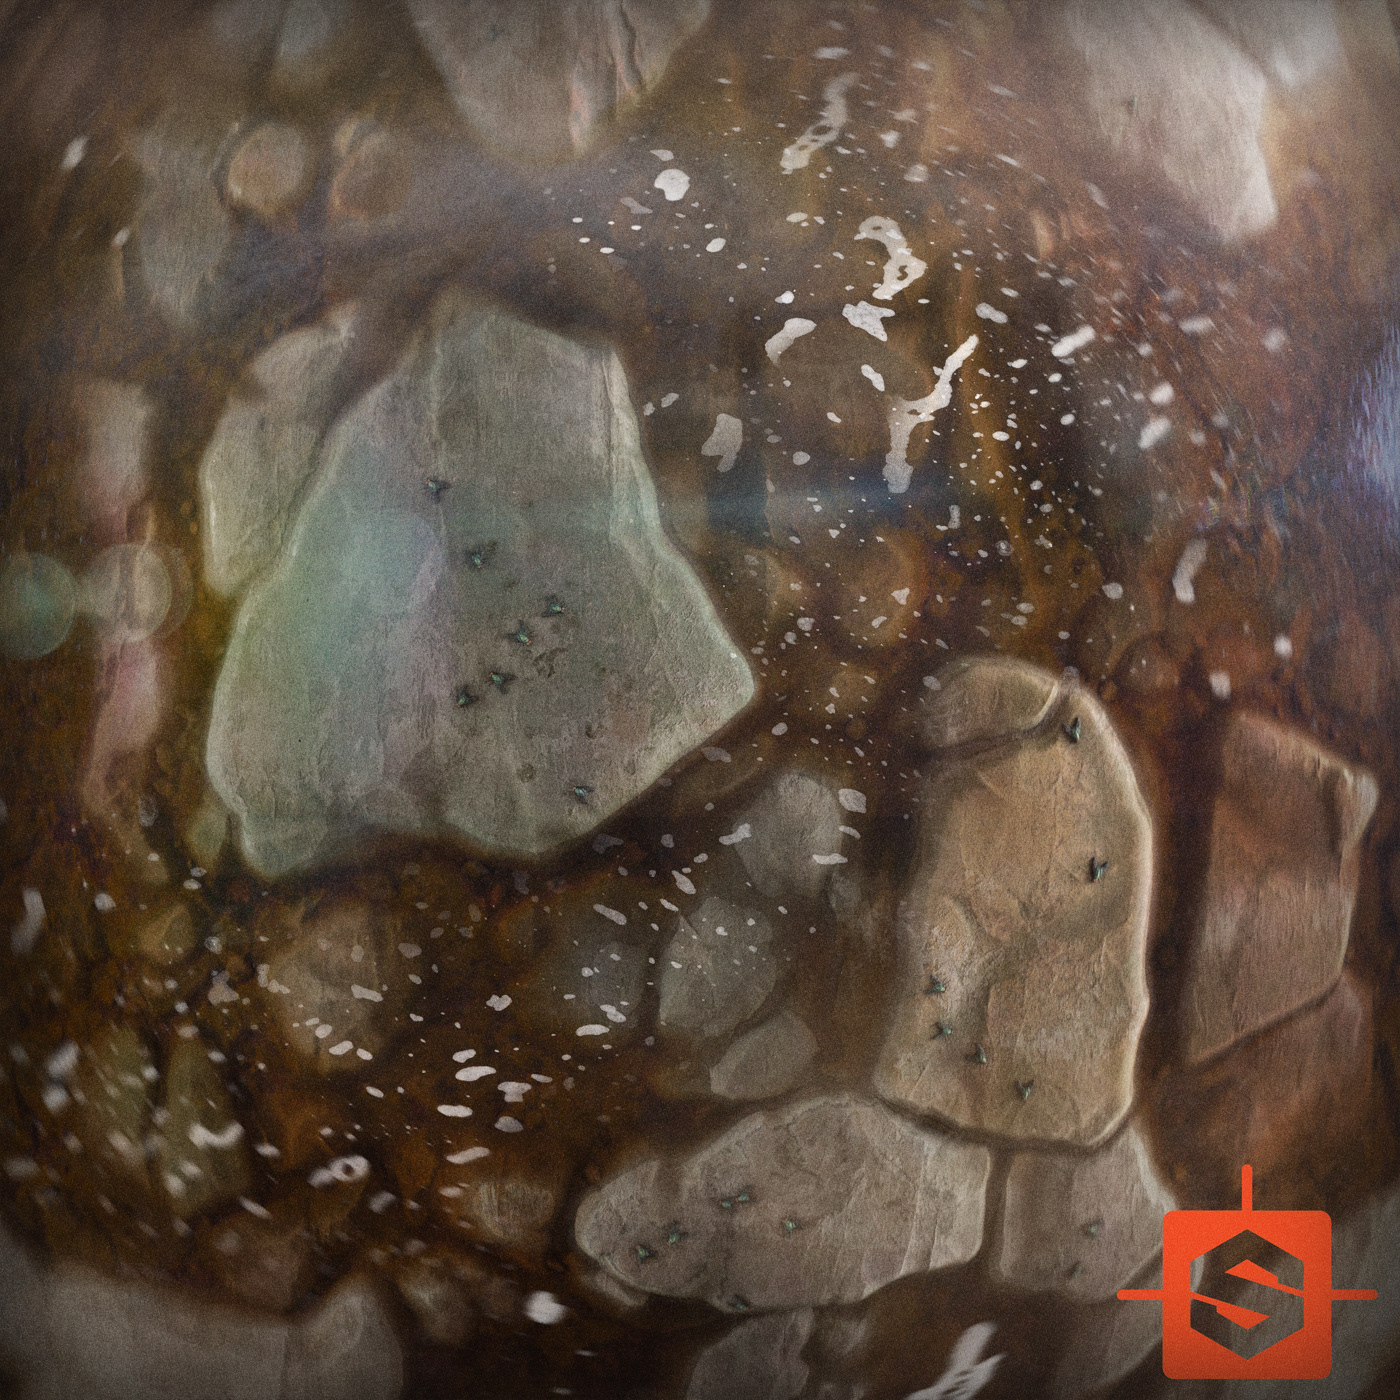
Red Creek bedrock close-up

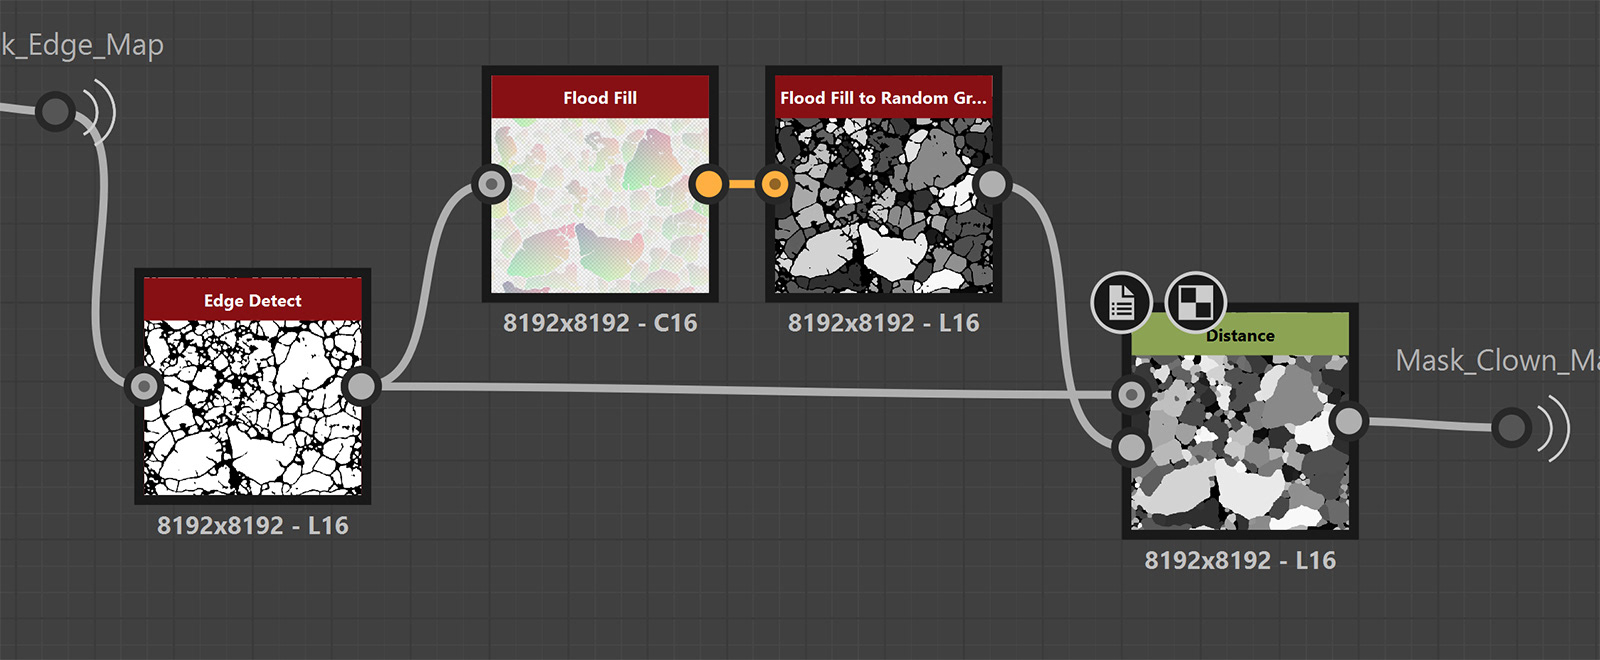
Applying flood fill to generate randomized color masks
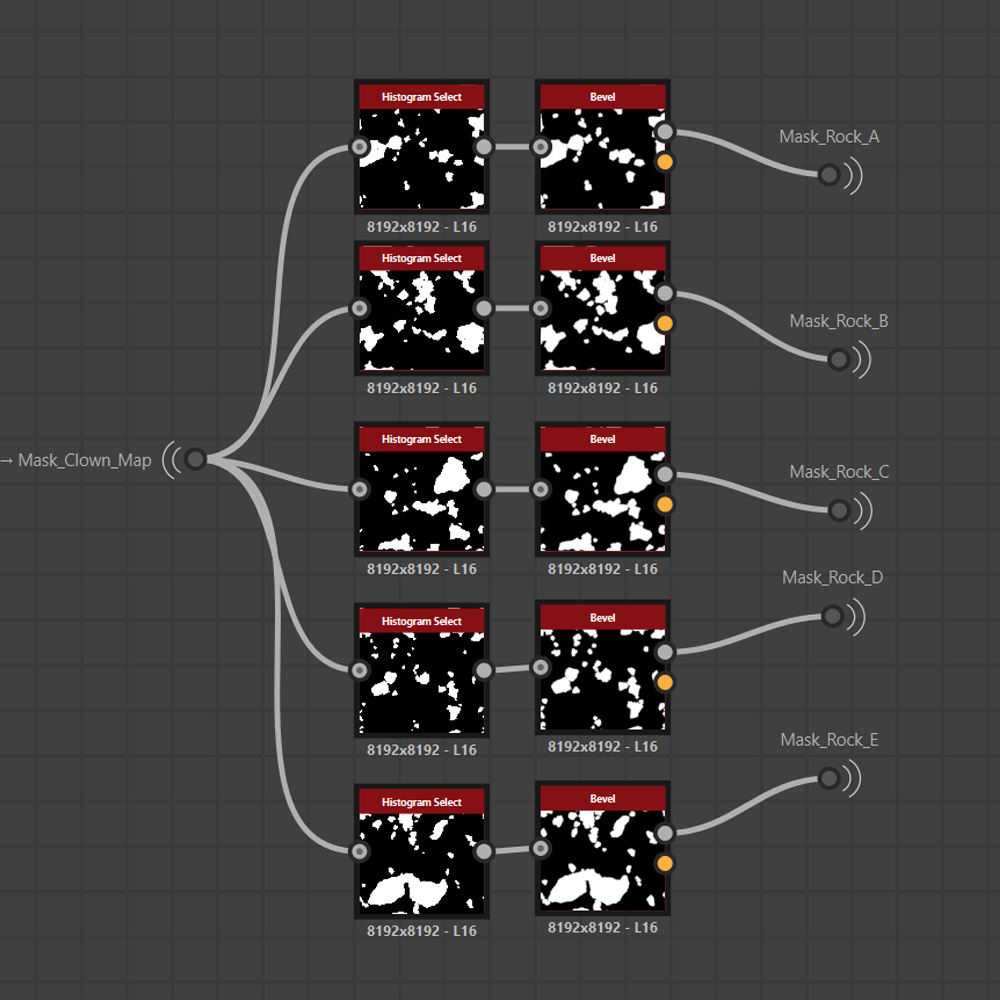
Using histogram select on flood fill to isolate rock clusters
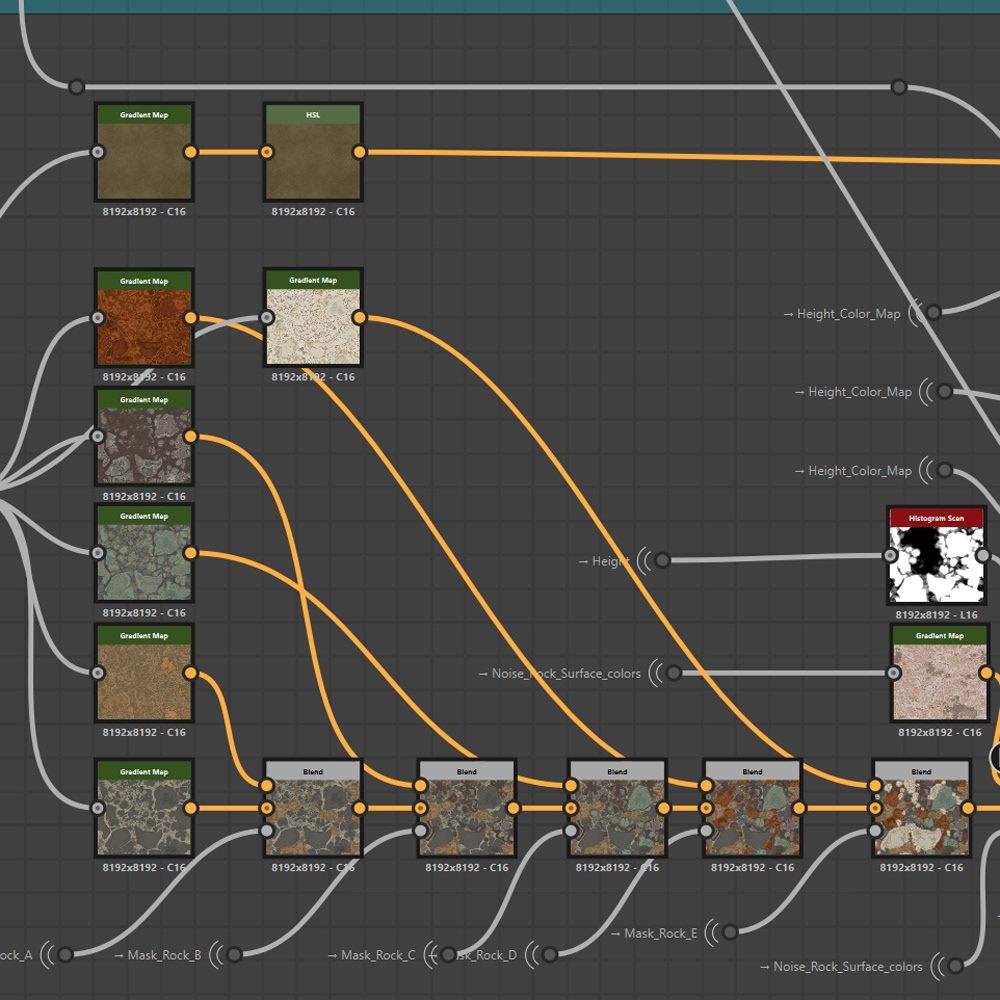
Natural color variation using rock cluster masks
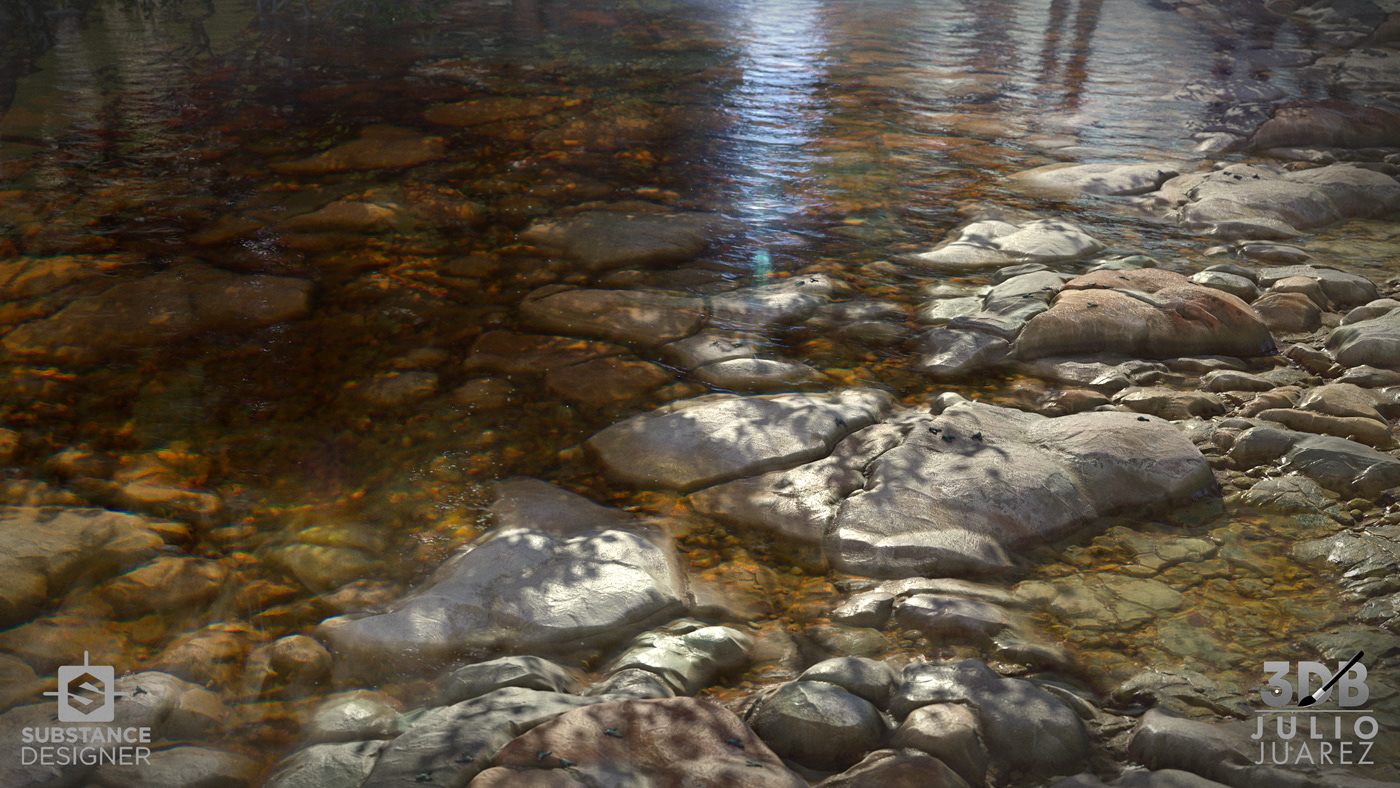
Red Creek bedrock: a study in natural color variation


Precise edge selections for layered materials

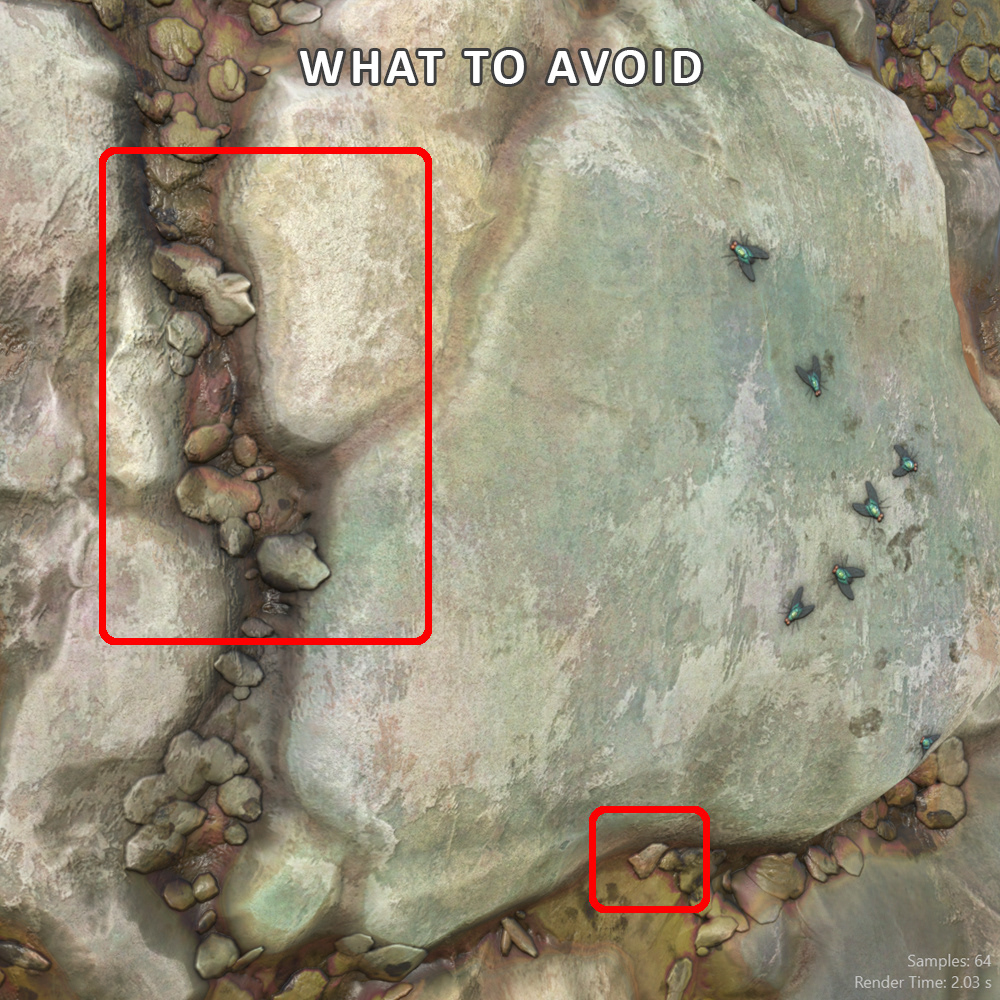
Example of stretched details on edges

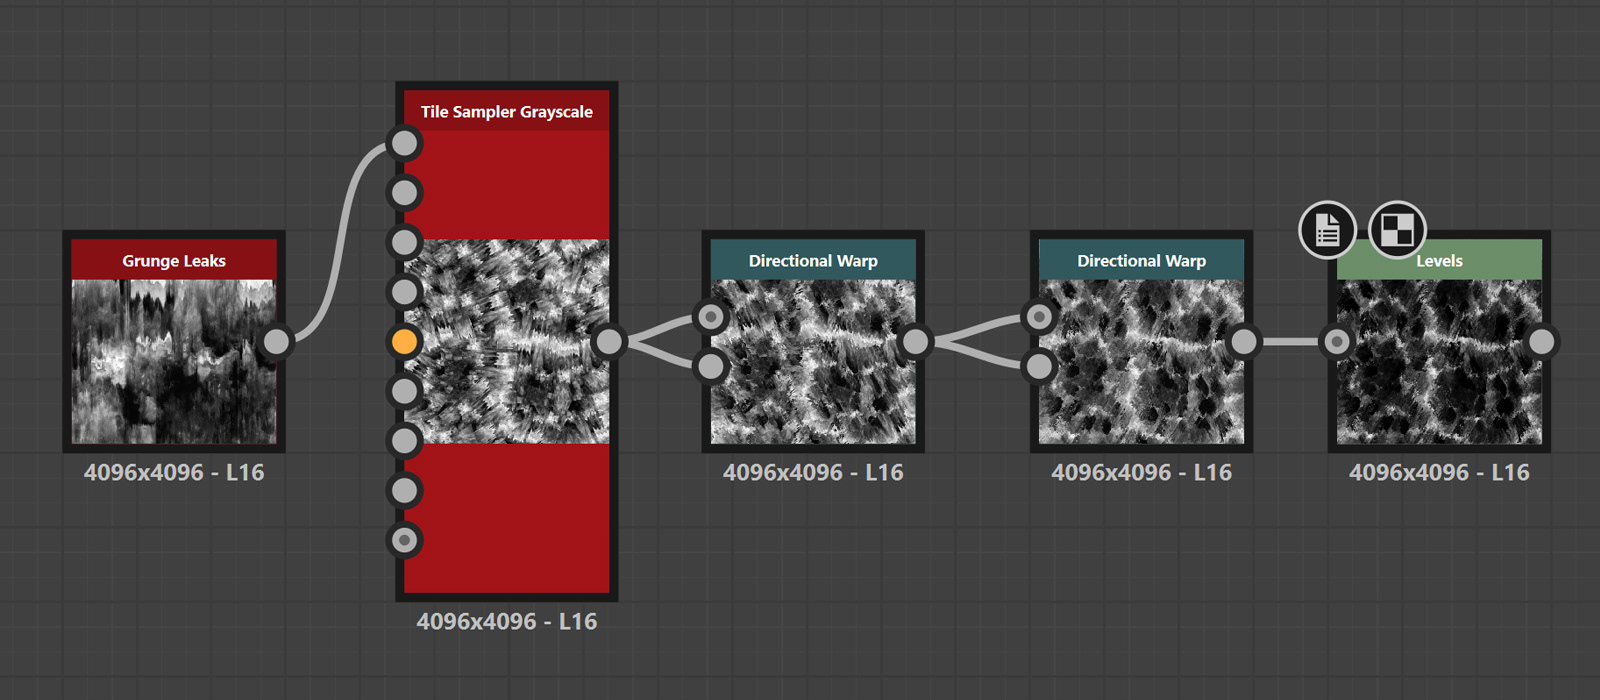
Edge selection mask for safe detail placement in Tile Sampler

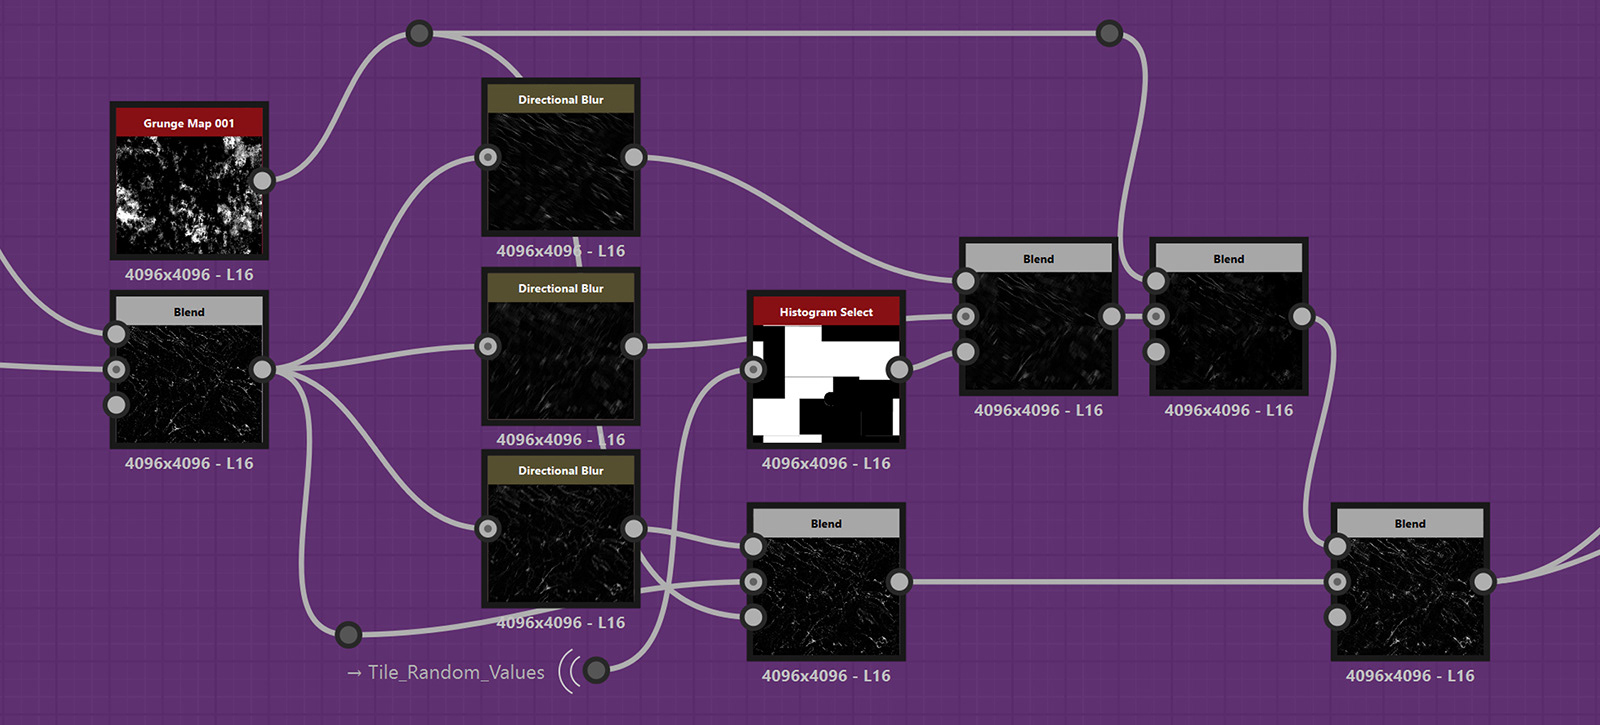
Node setup for grunge mask randomization

Grunge mask added to the material

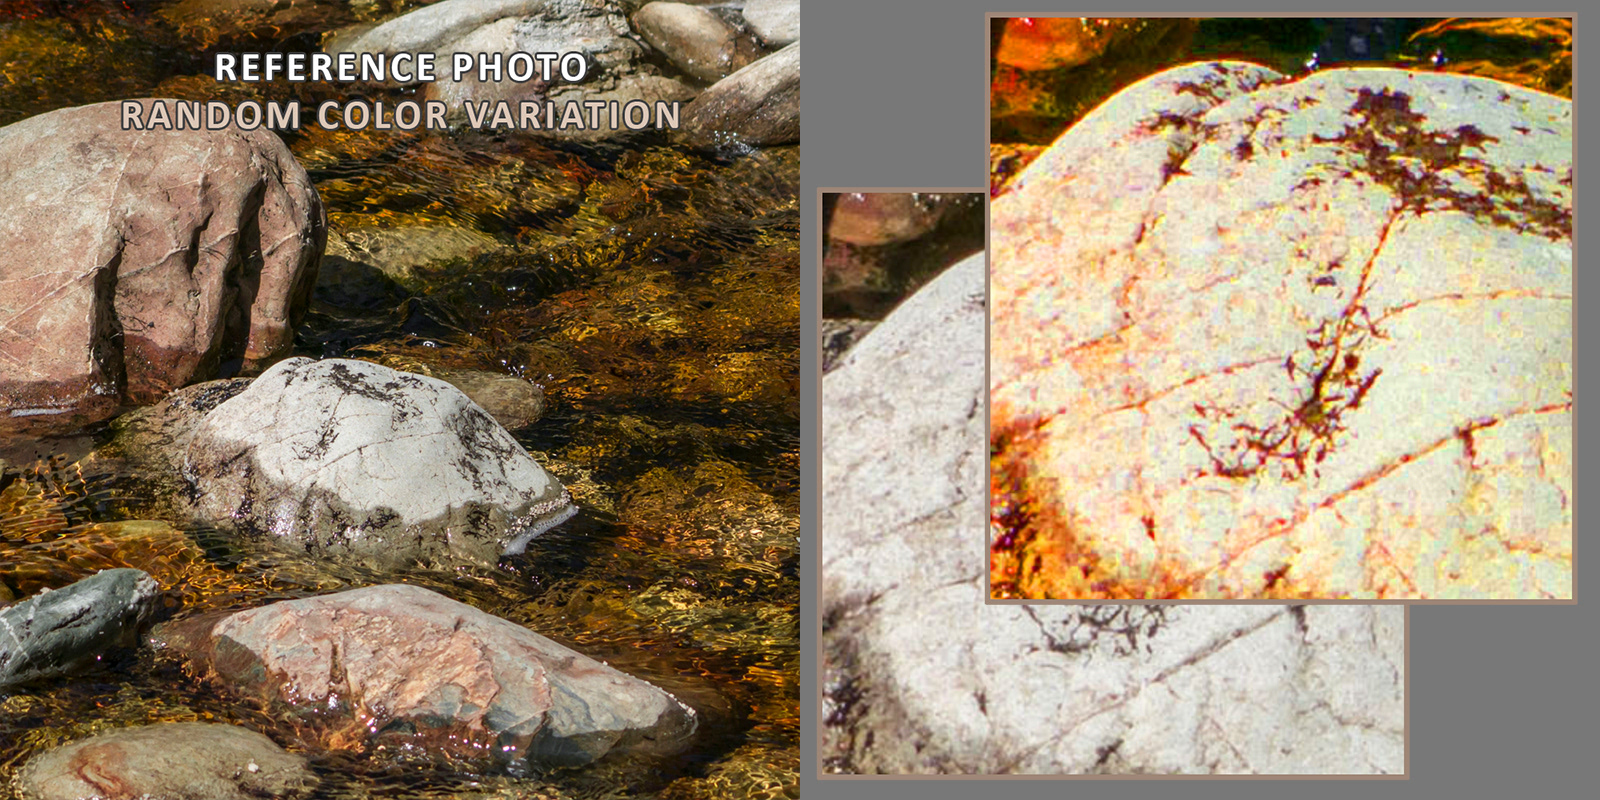
Reference photo study of hue variation
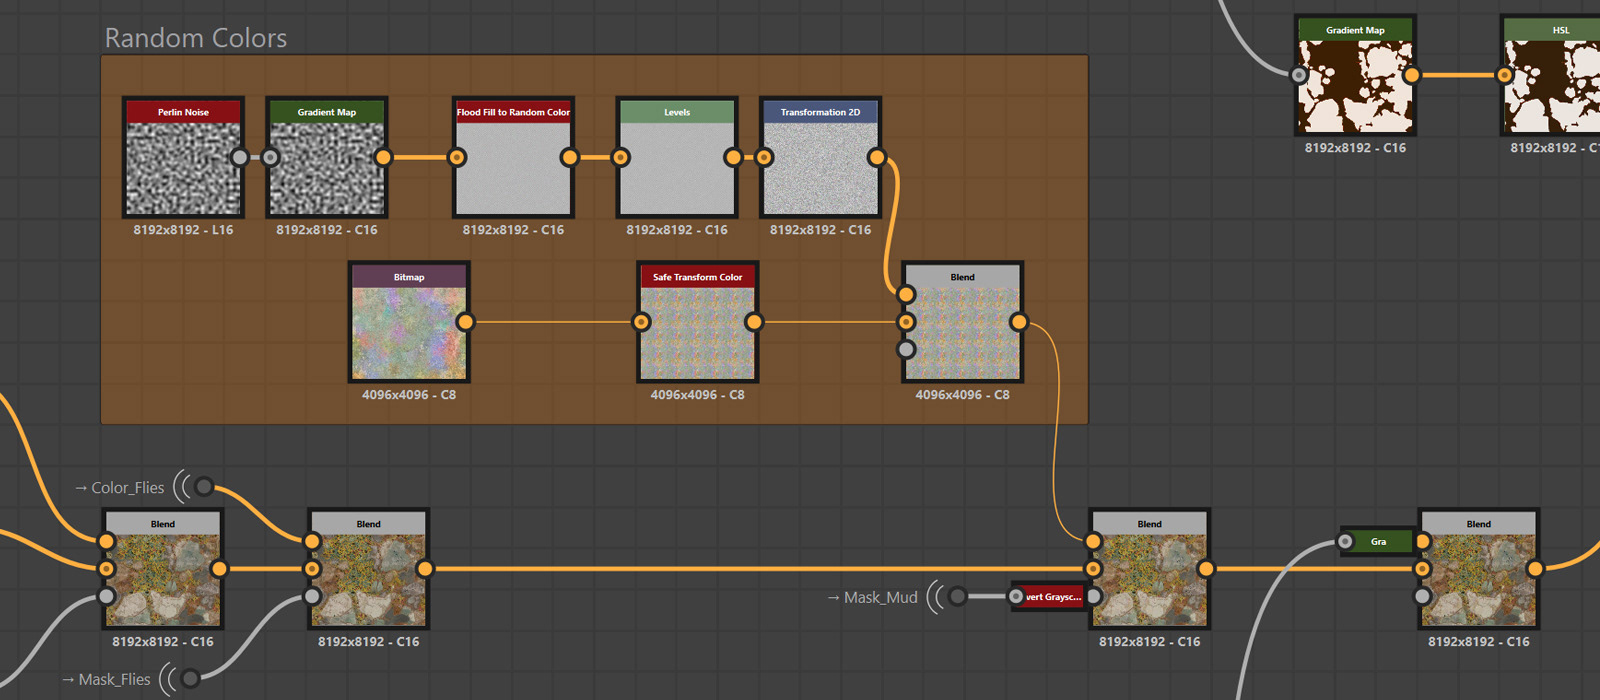
Random colors for realistic variation
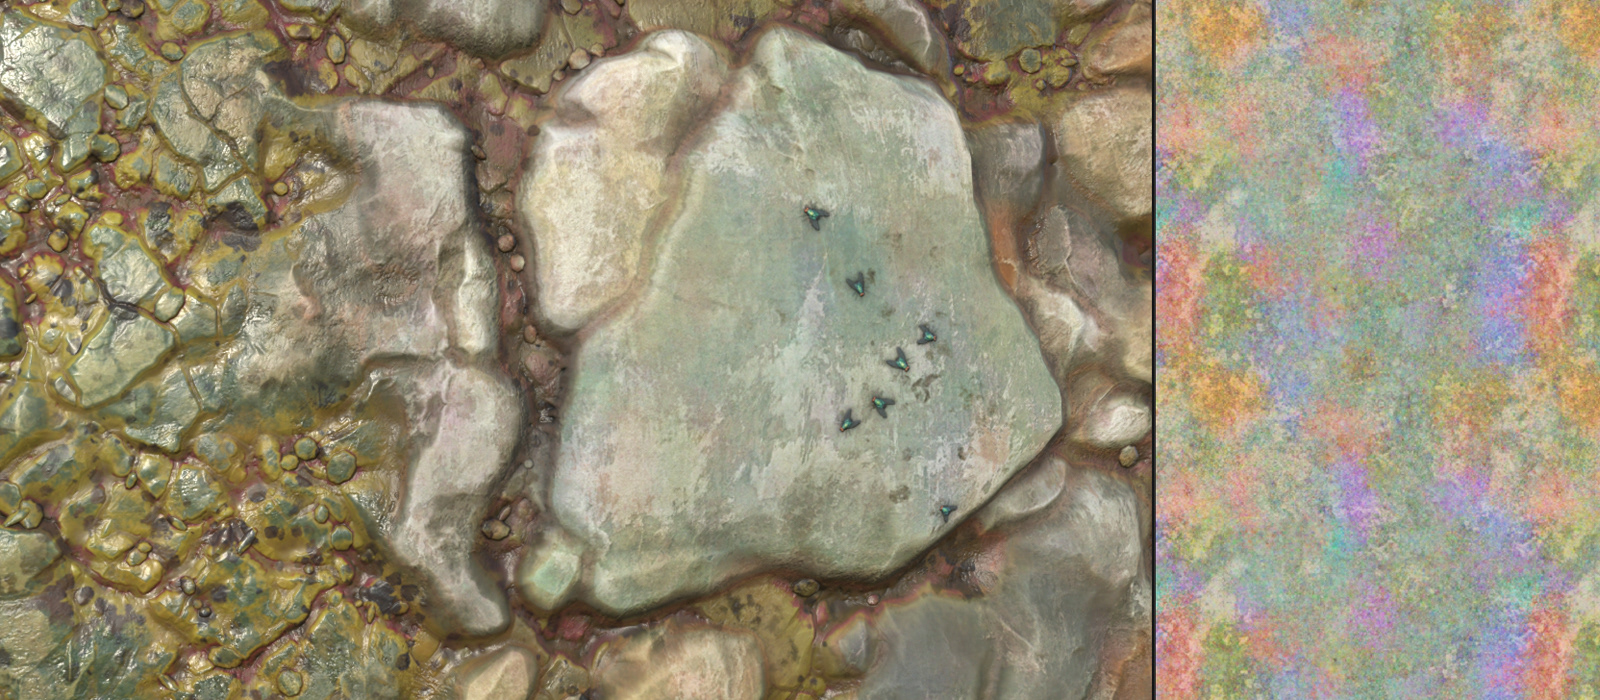
Color variation applied to the material
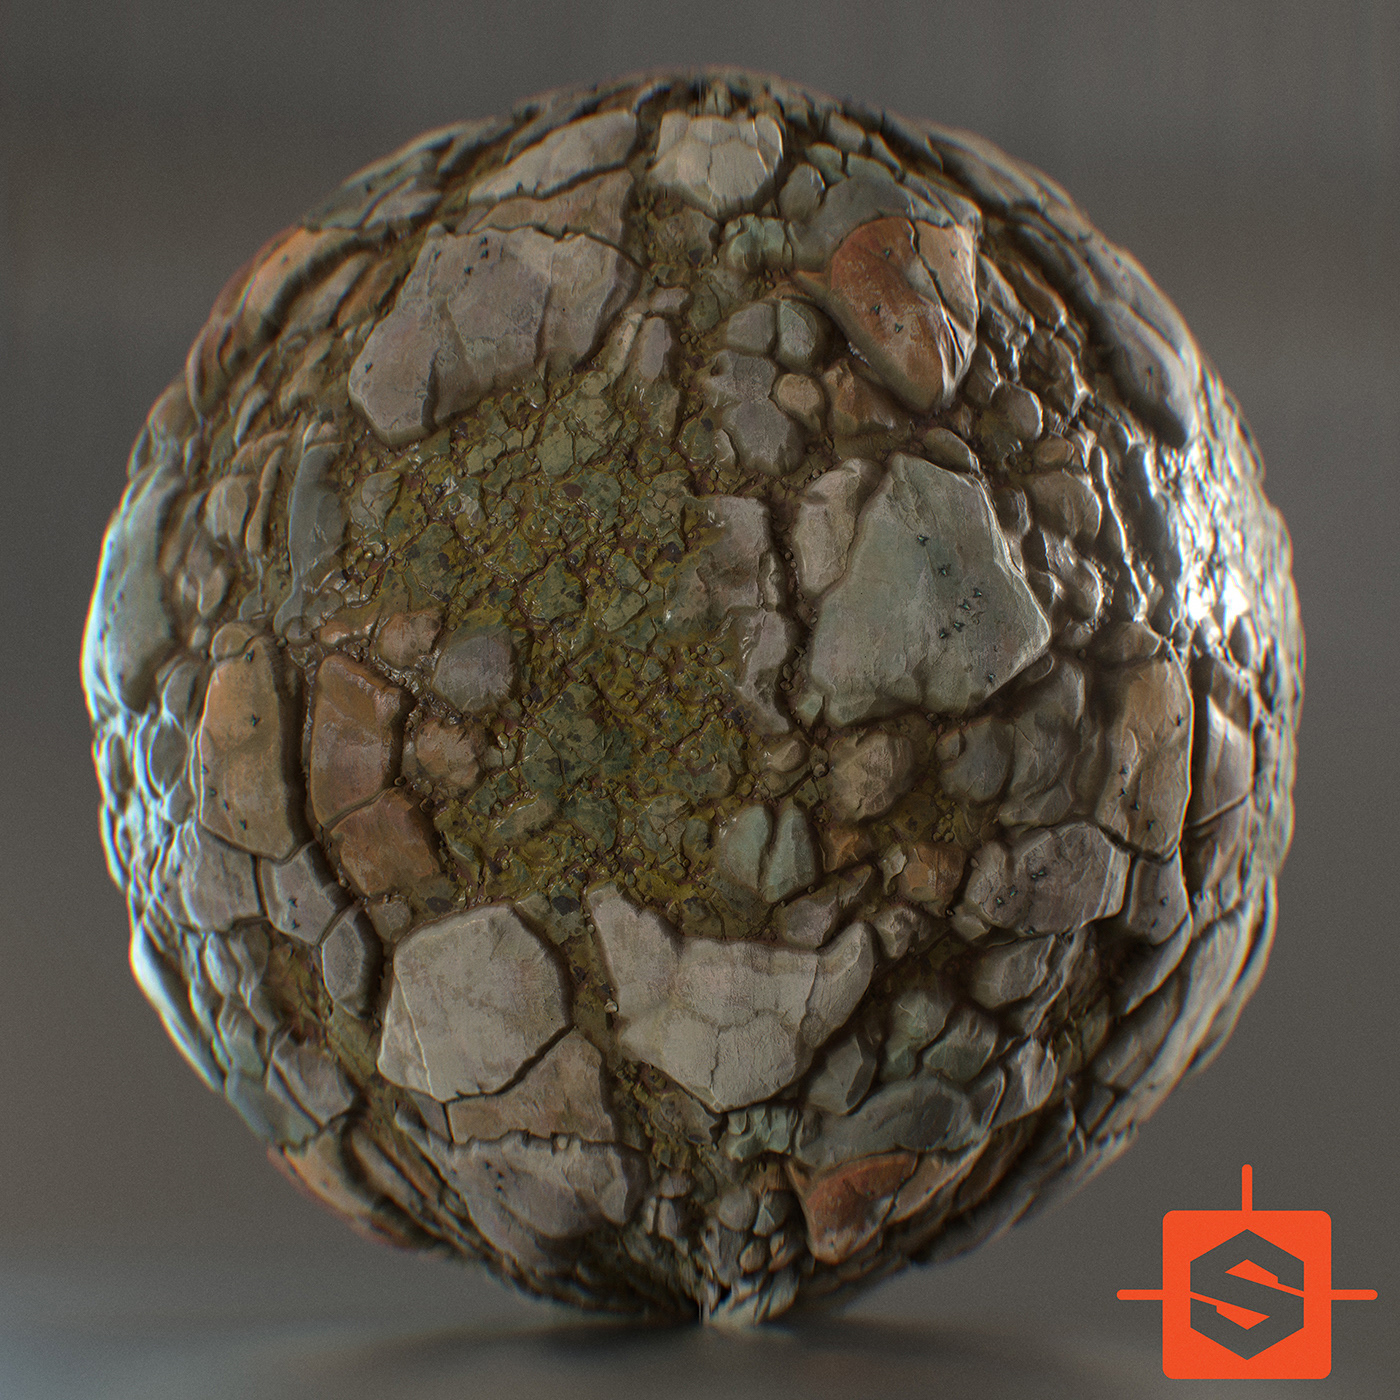
Red Creek bedrock material

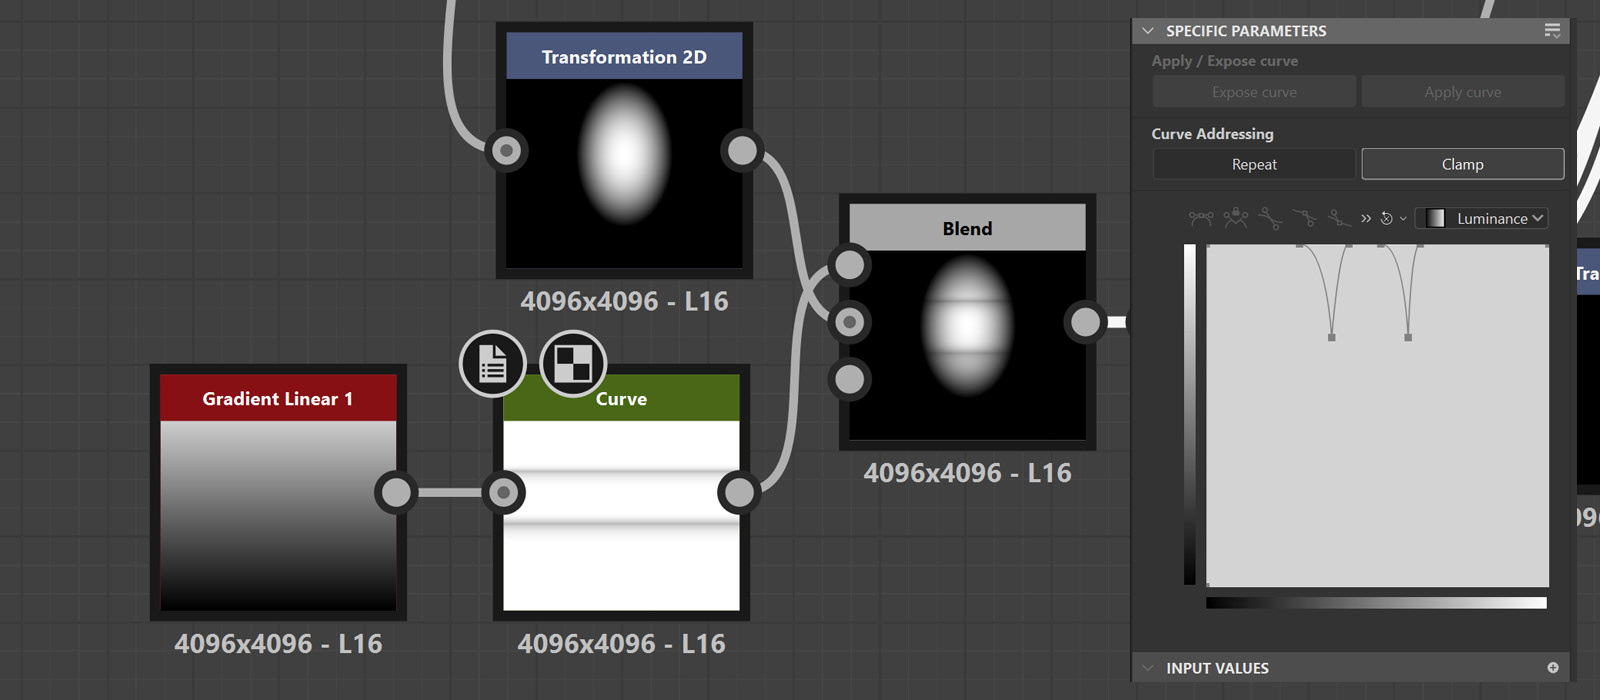
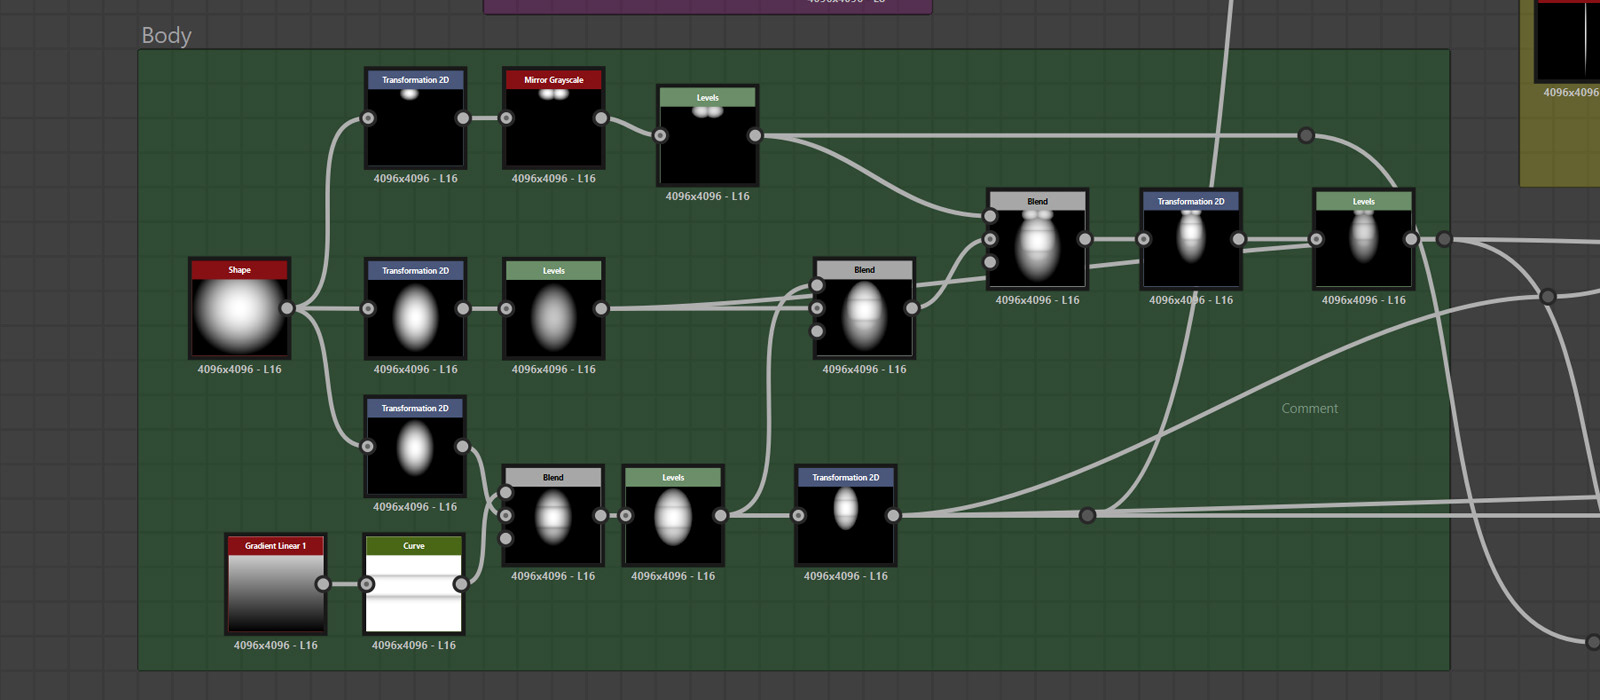
Using curve nodes to shape gradients
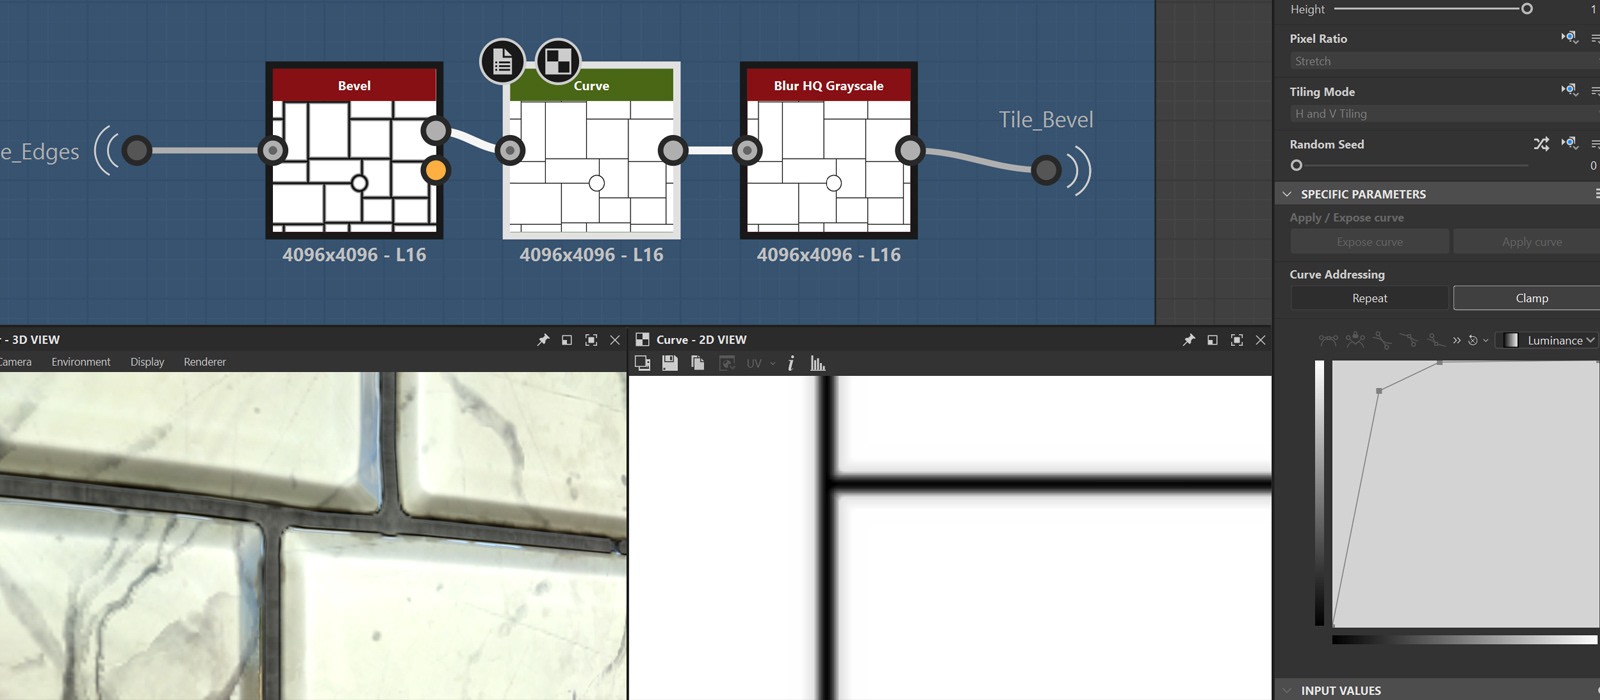
Marble tile edge sculpted with curve nodes

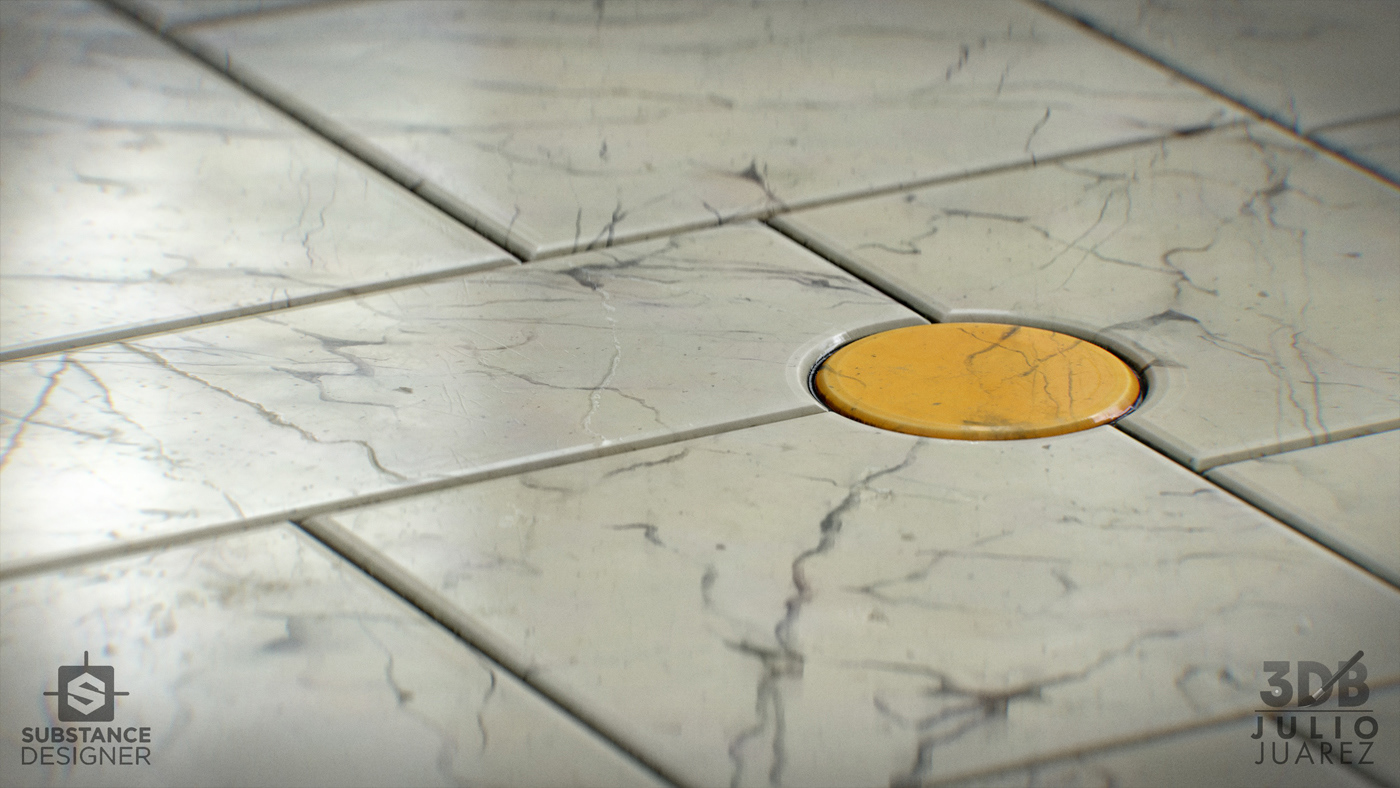
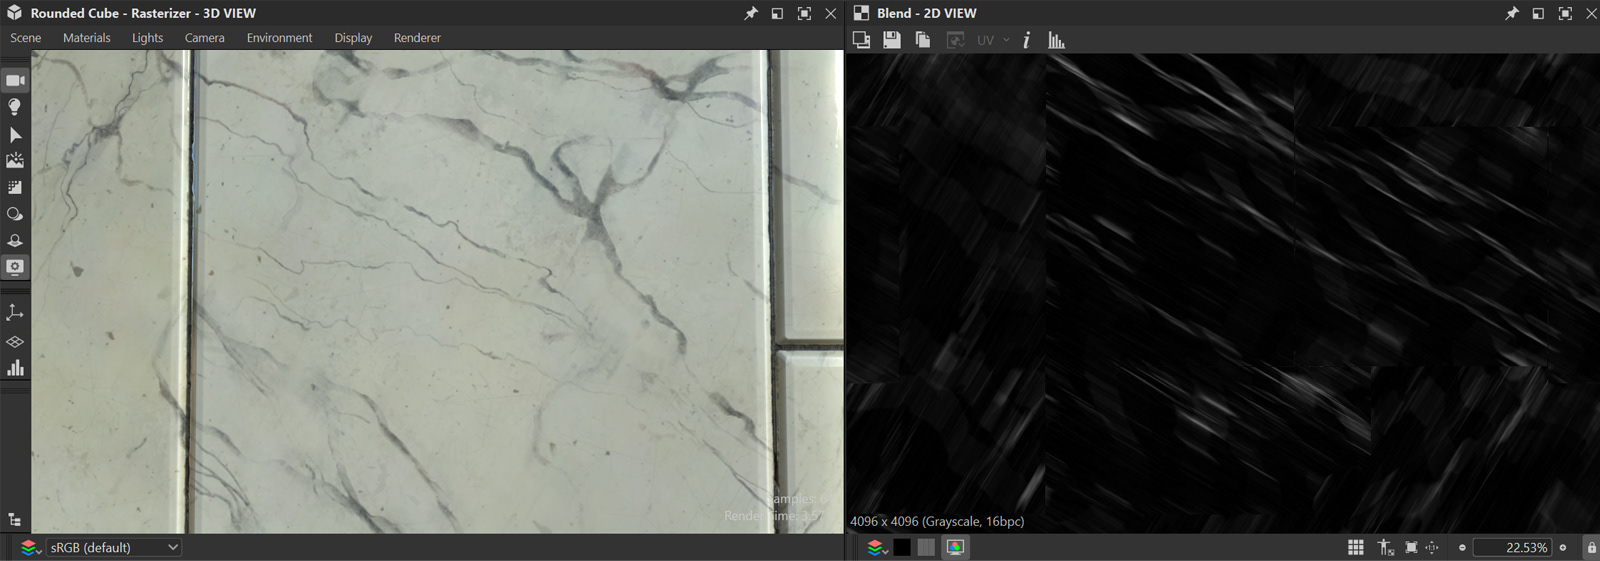
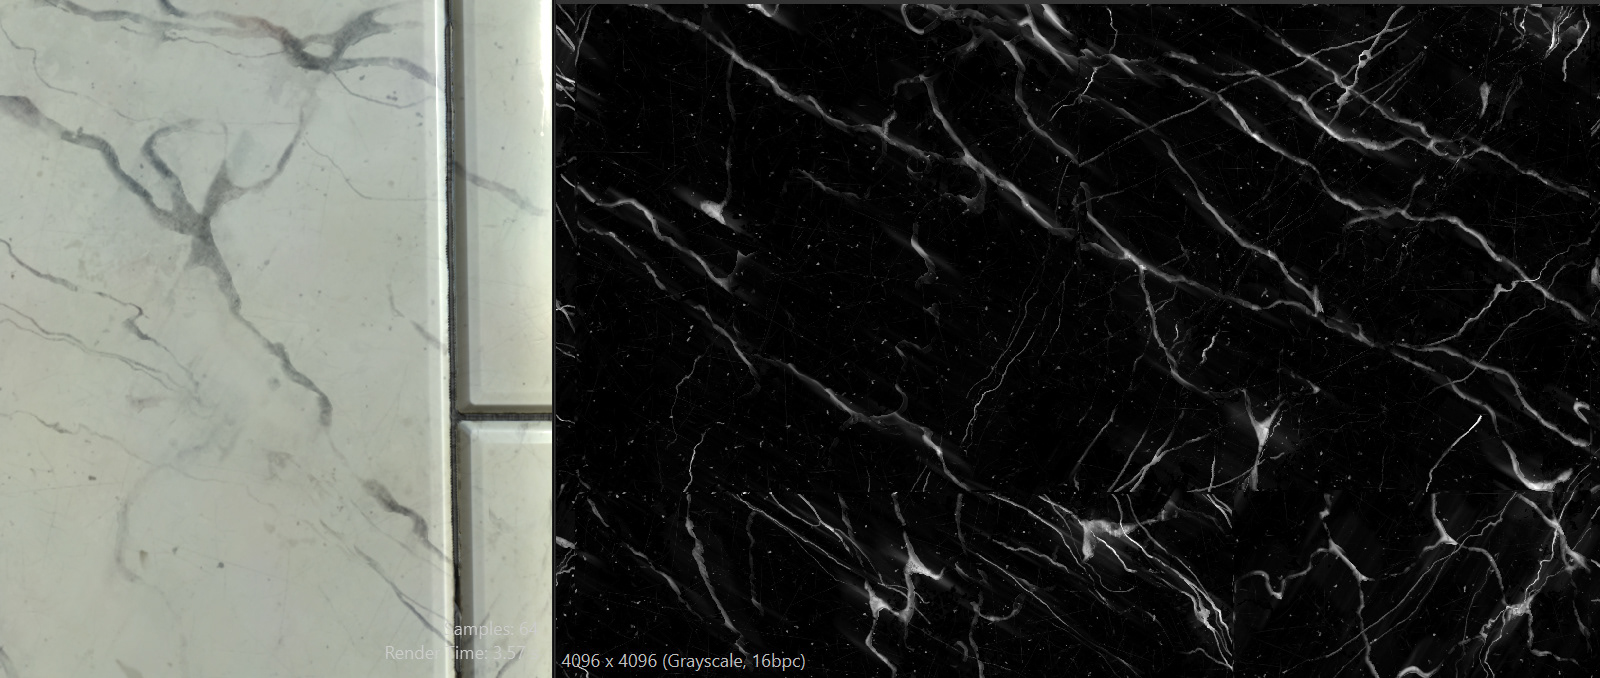
Marble tiles' beauty render with randomly rotated stains
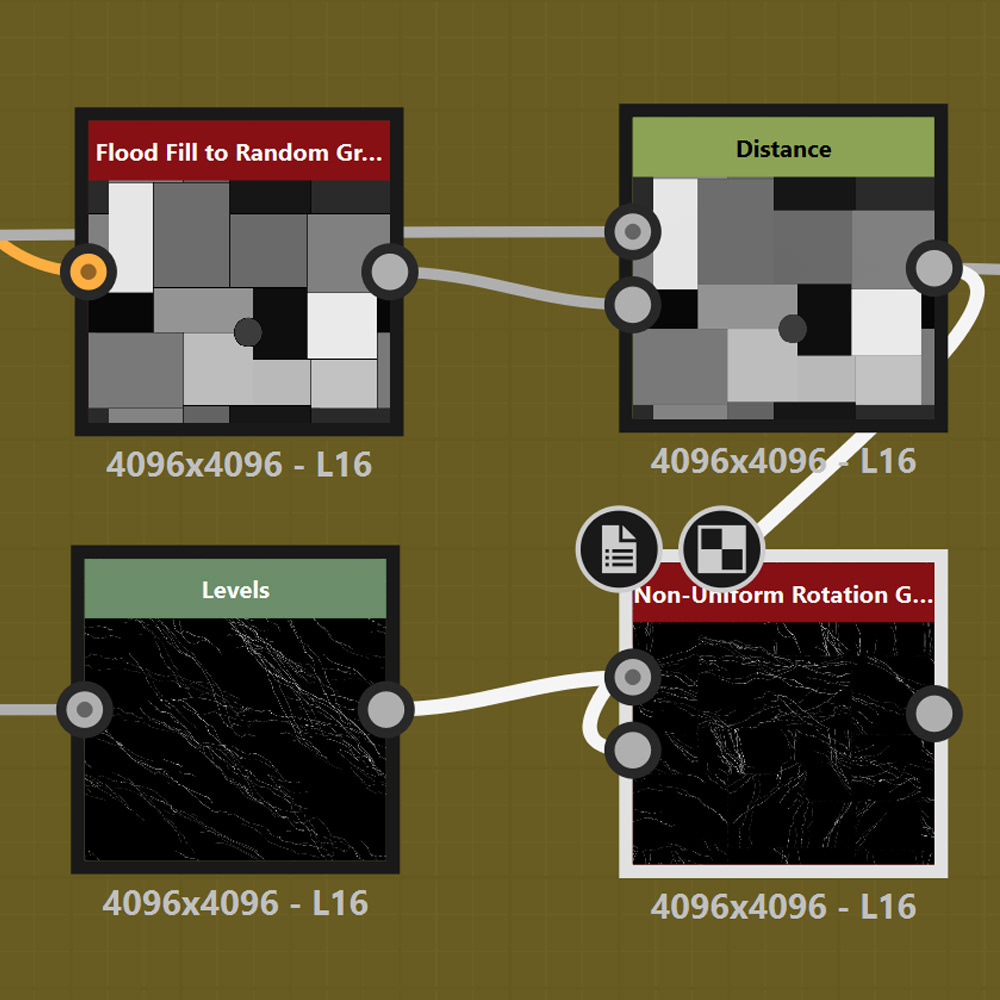
Node setup for random rotations

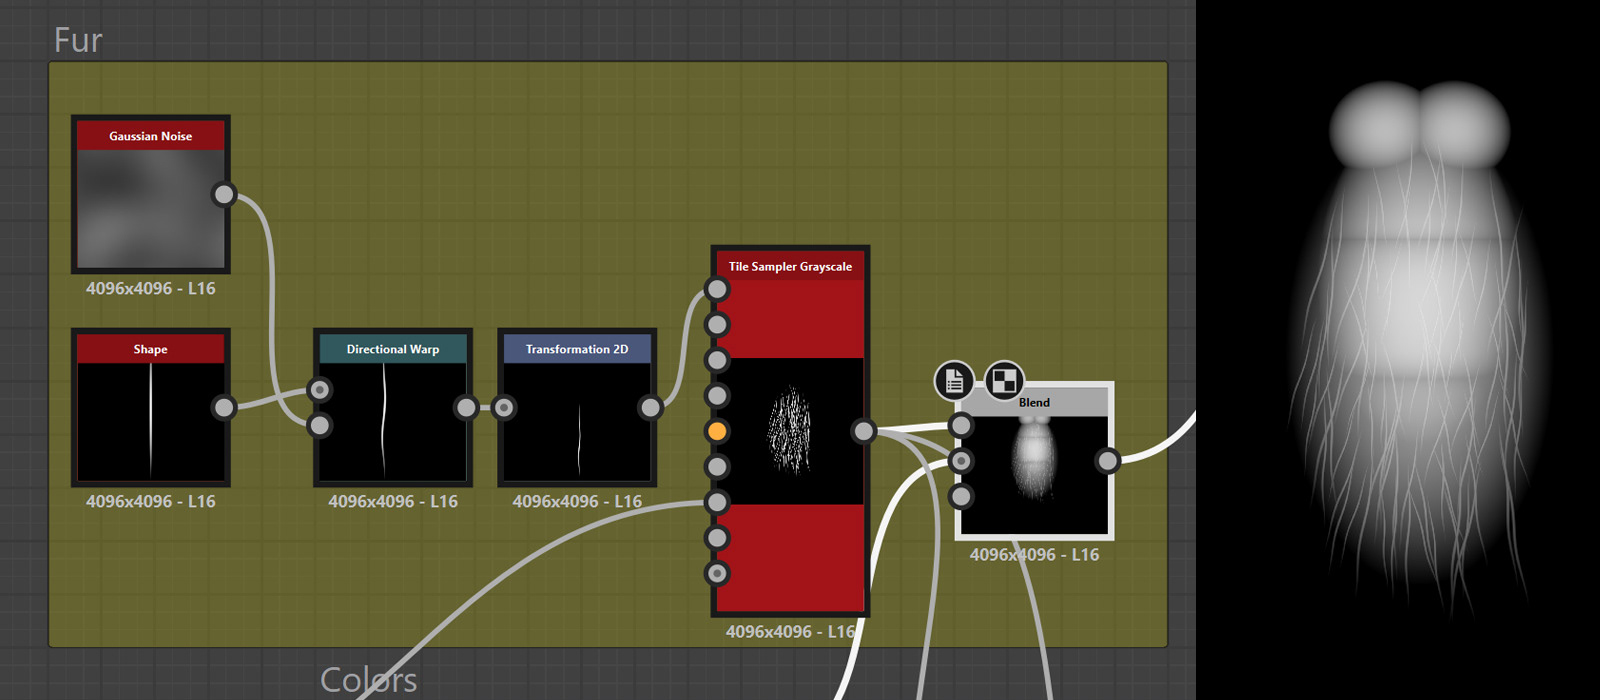
Node setup for creating realistic fur and vines
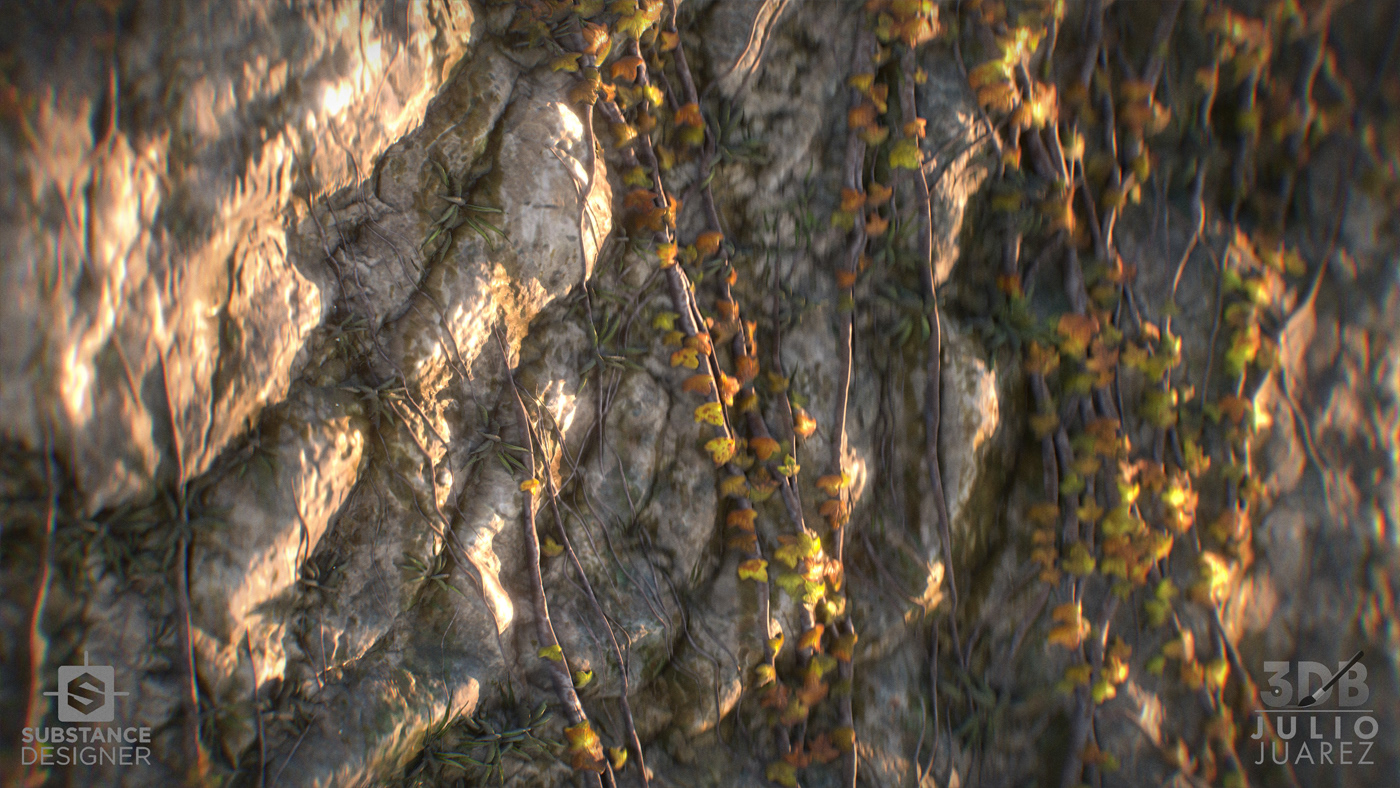
Realistic vines render using the simple node setup
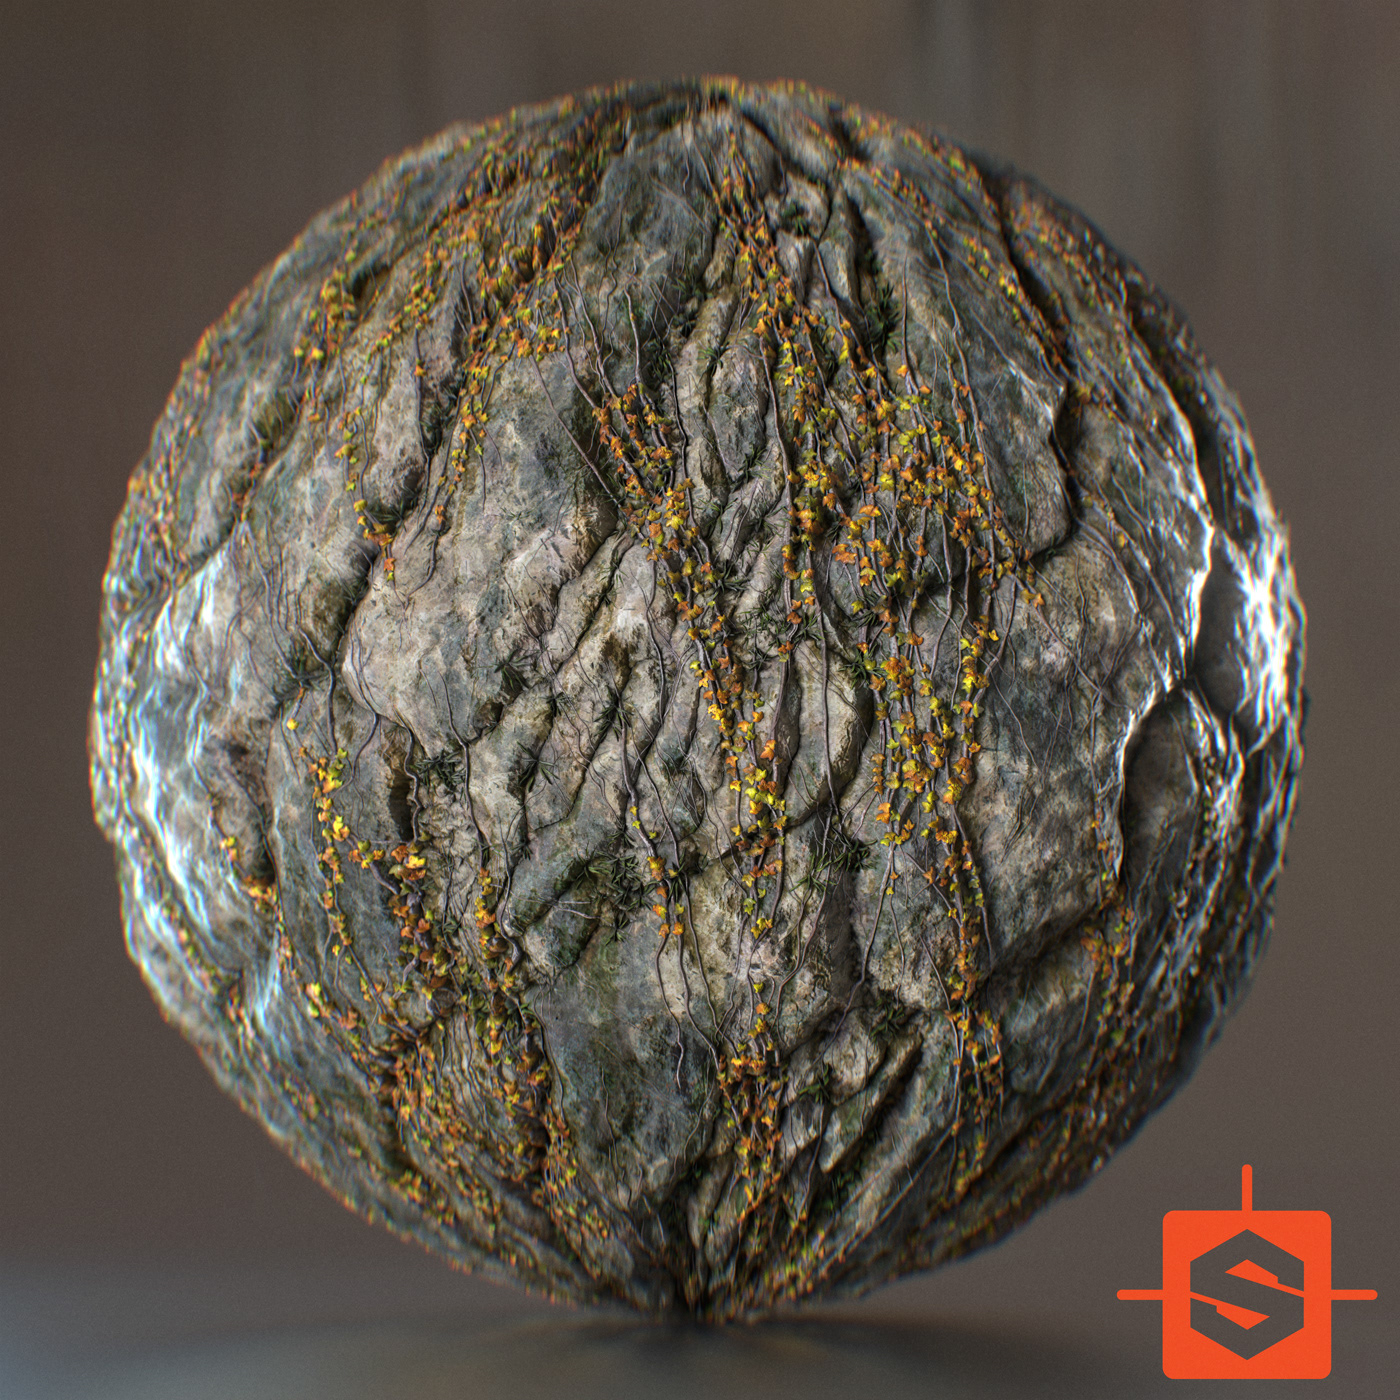
Rust vine cliffside material

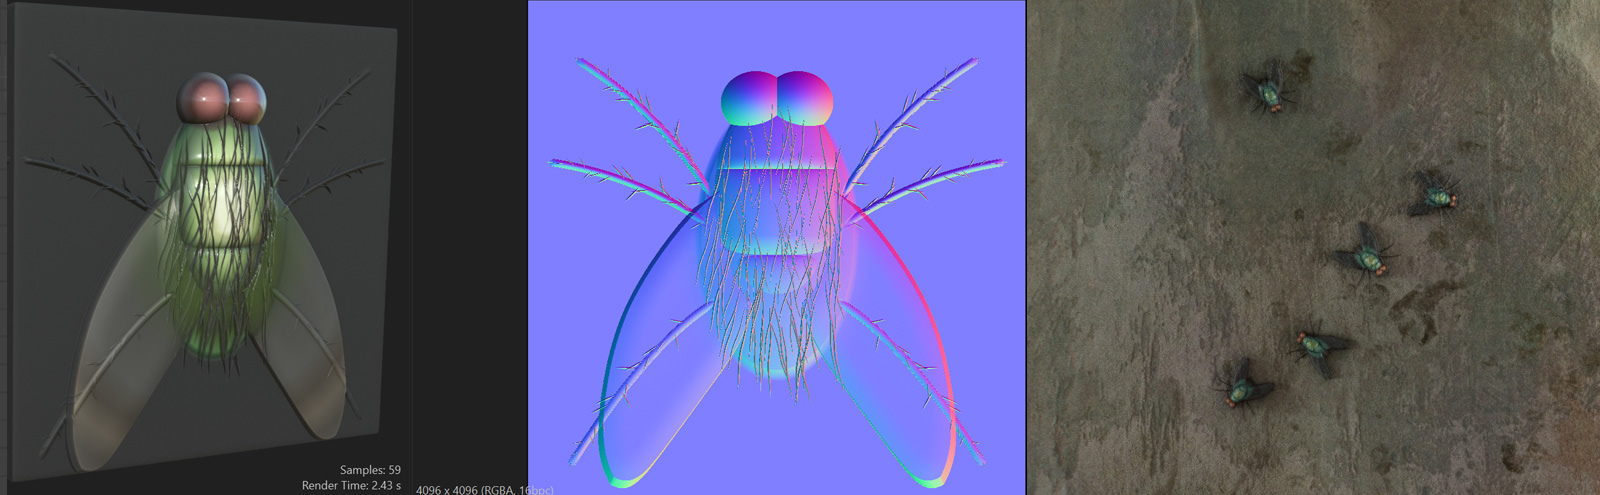
Procedural fly material and final render
Node setup for the thorax and eyes
Spline setup for procedural fly legs

Wing creation using a skewed pyramid shape

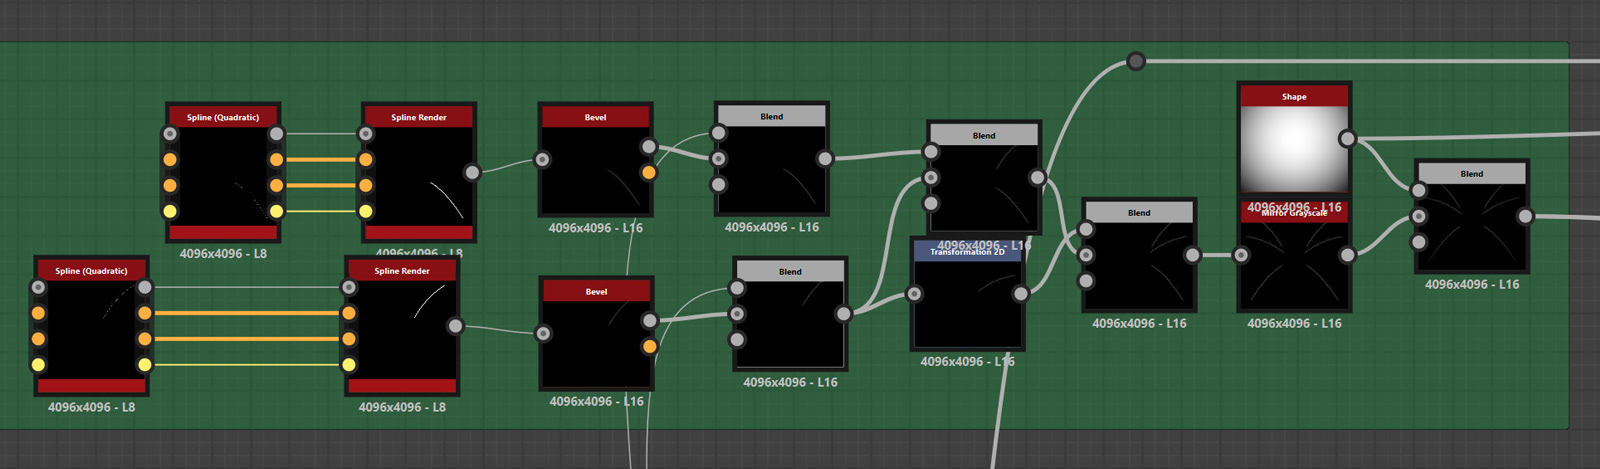
Smudged marble stains
Combined marble stain layers
Node setup for smudged effects
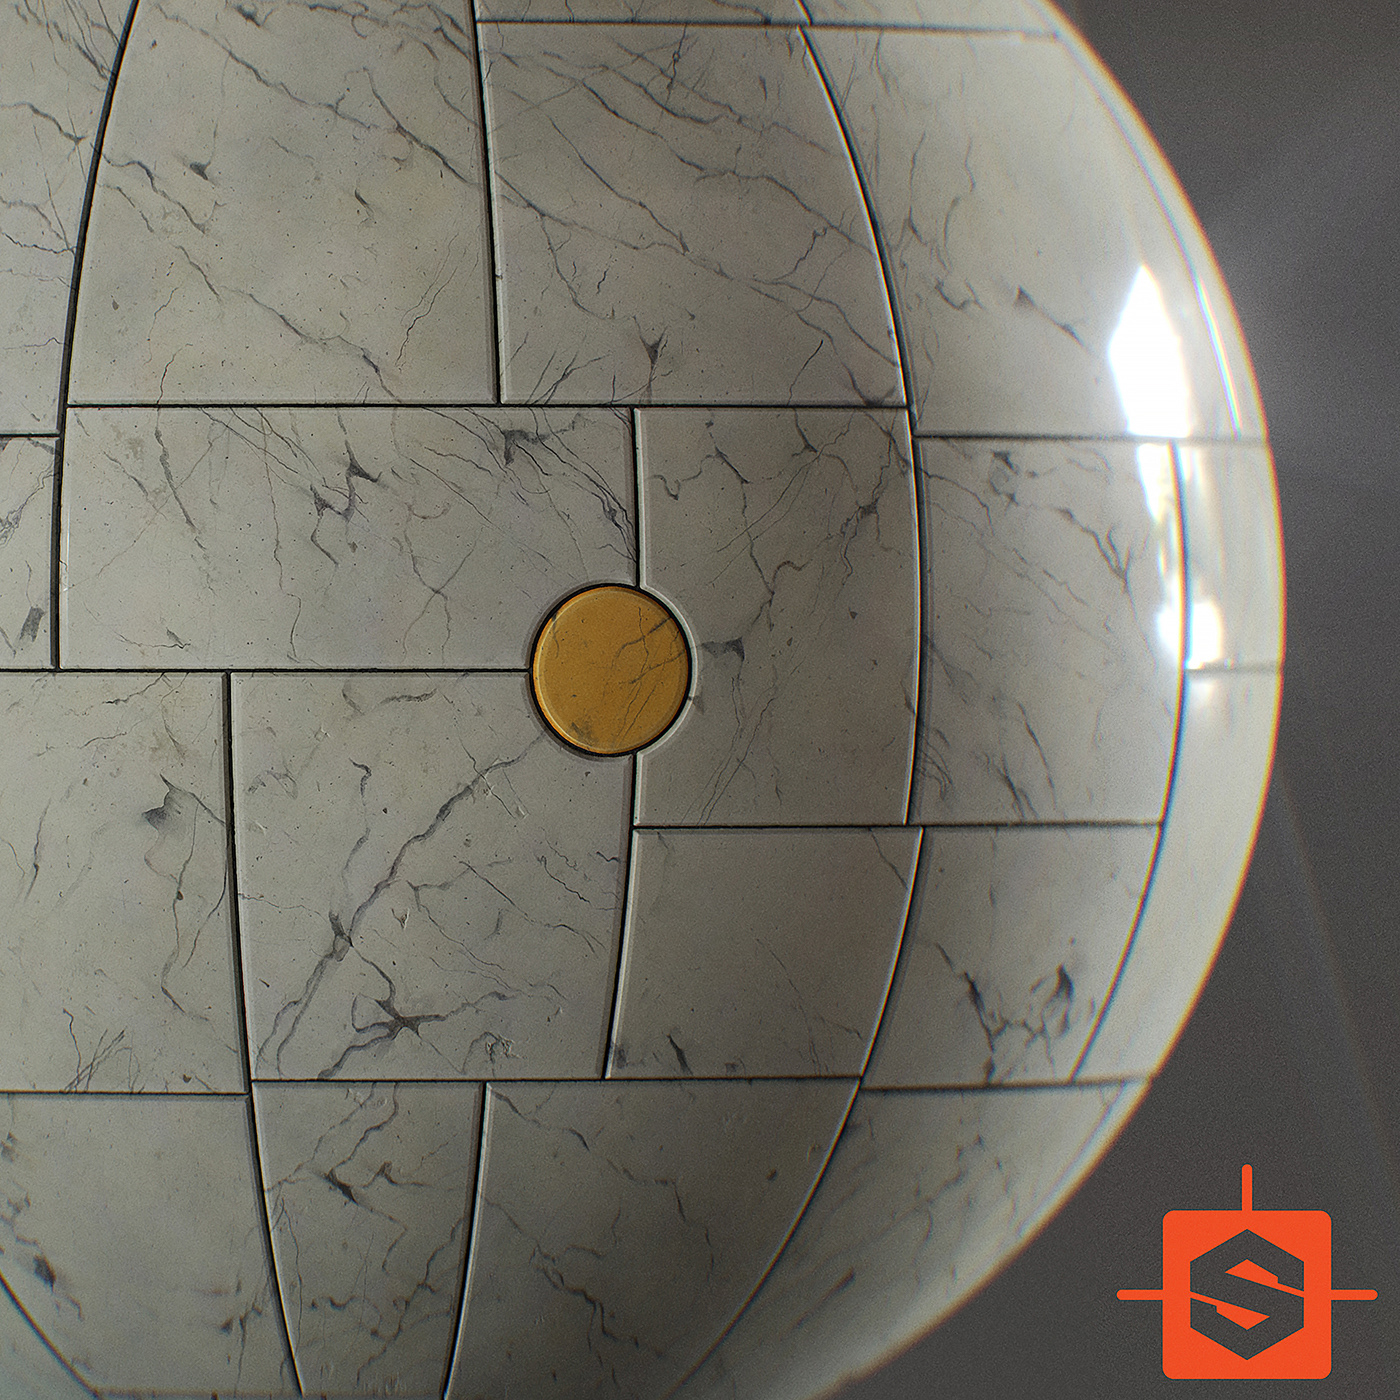
Sun Dot marble material


